Sculpting and painting on FDM Trees
After reading The Art of Ana Polanscak and being completely blown away by the photos, especially the backgrounds, I felt the itch to make some trees for the tabletop. I’m fairly sure some of the trees in Ana’s book are GW Wyldwood kits, and there’s a great post on her website about building trees from scratch. I didn’t want to go down the path of buying the GW trees, though I love the approach to the leaves, and I didn’t have the time to start from scratch. So I found some great STLs from Terrainify that looked promising.
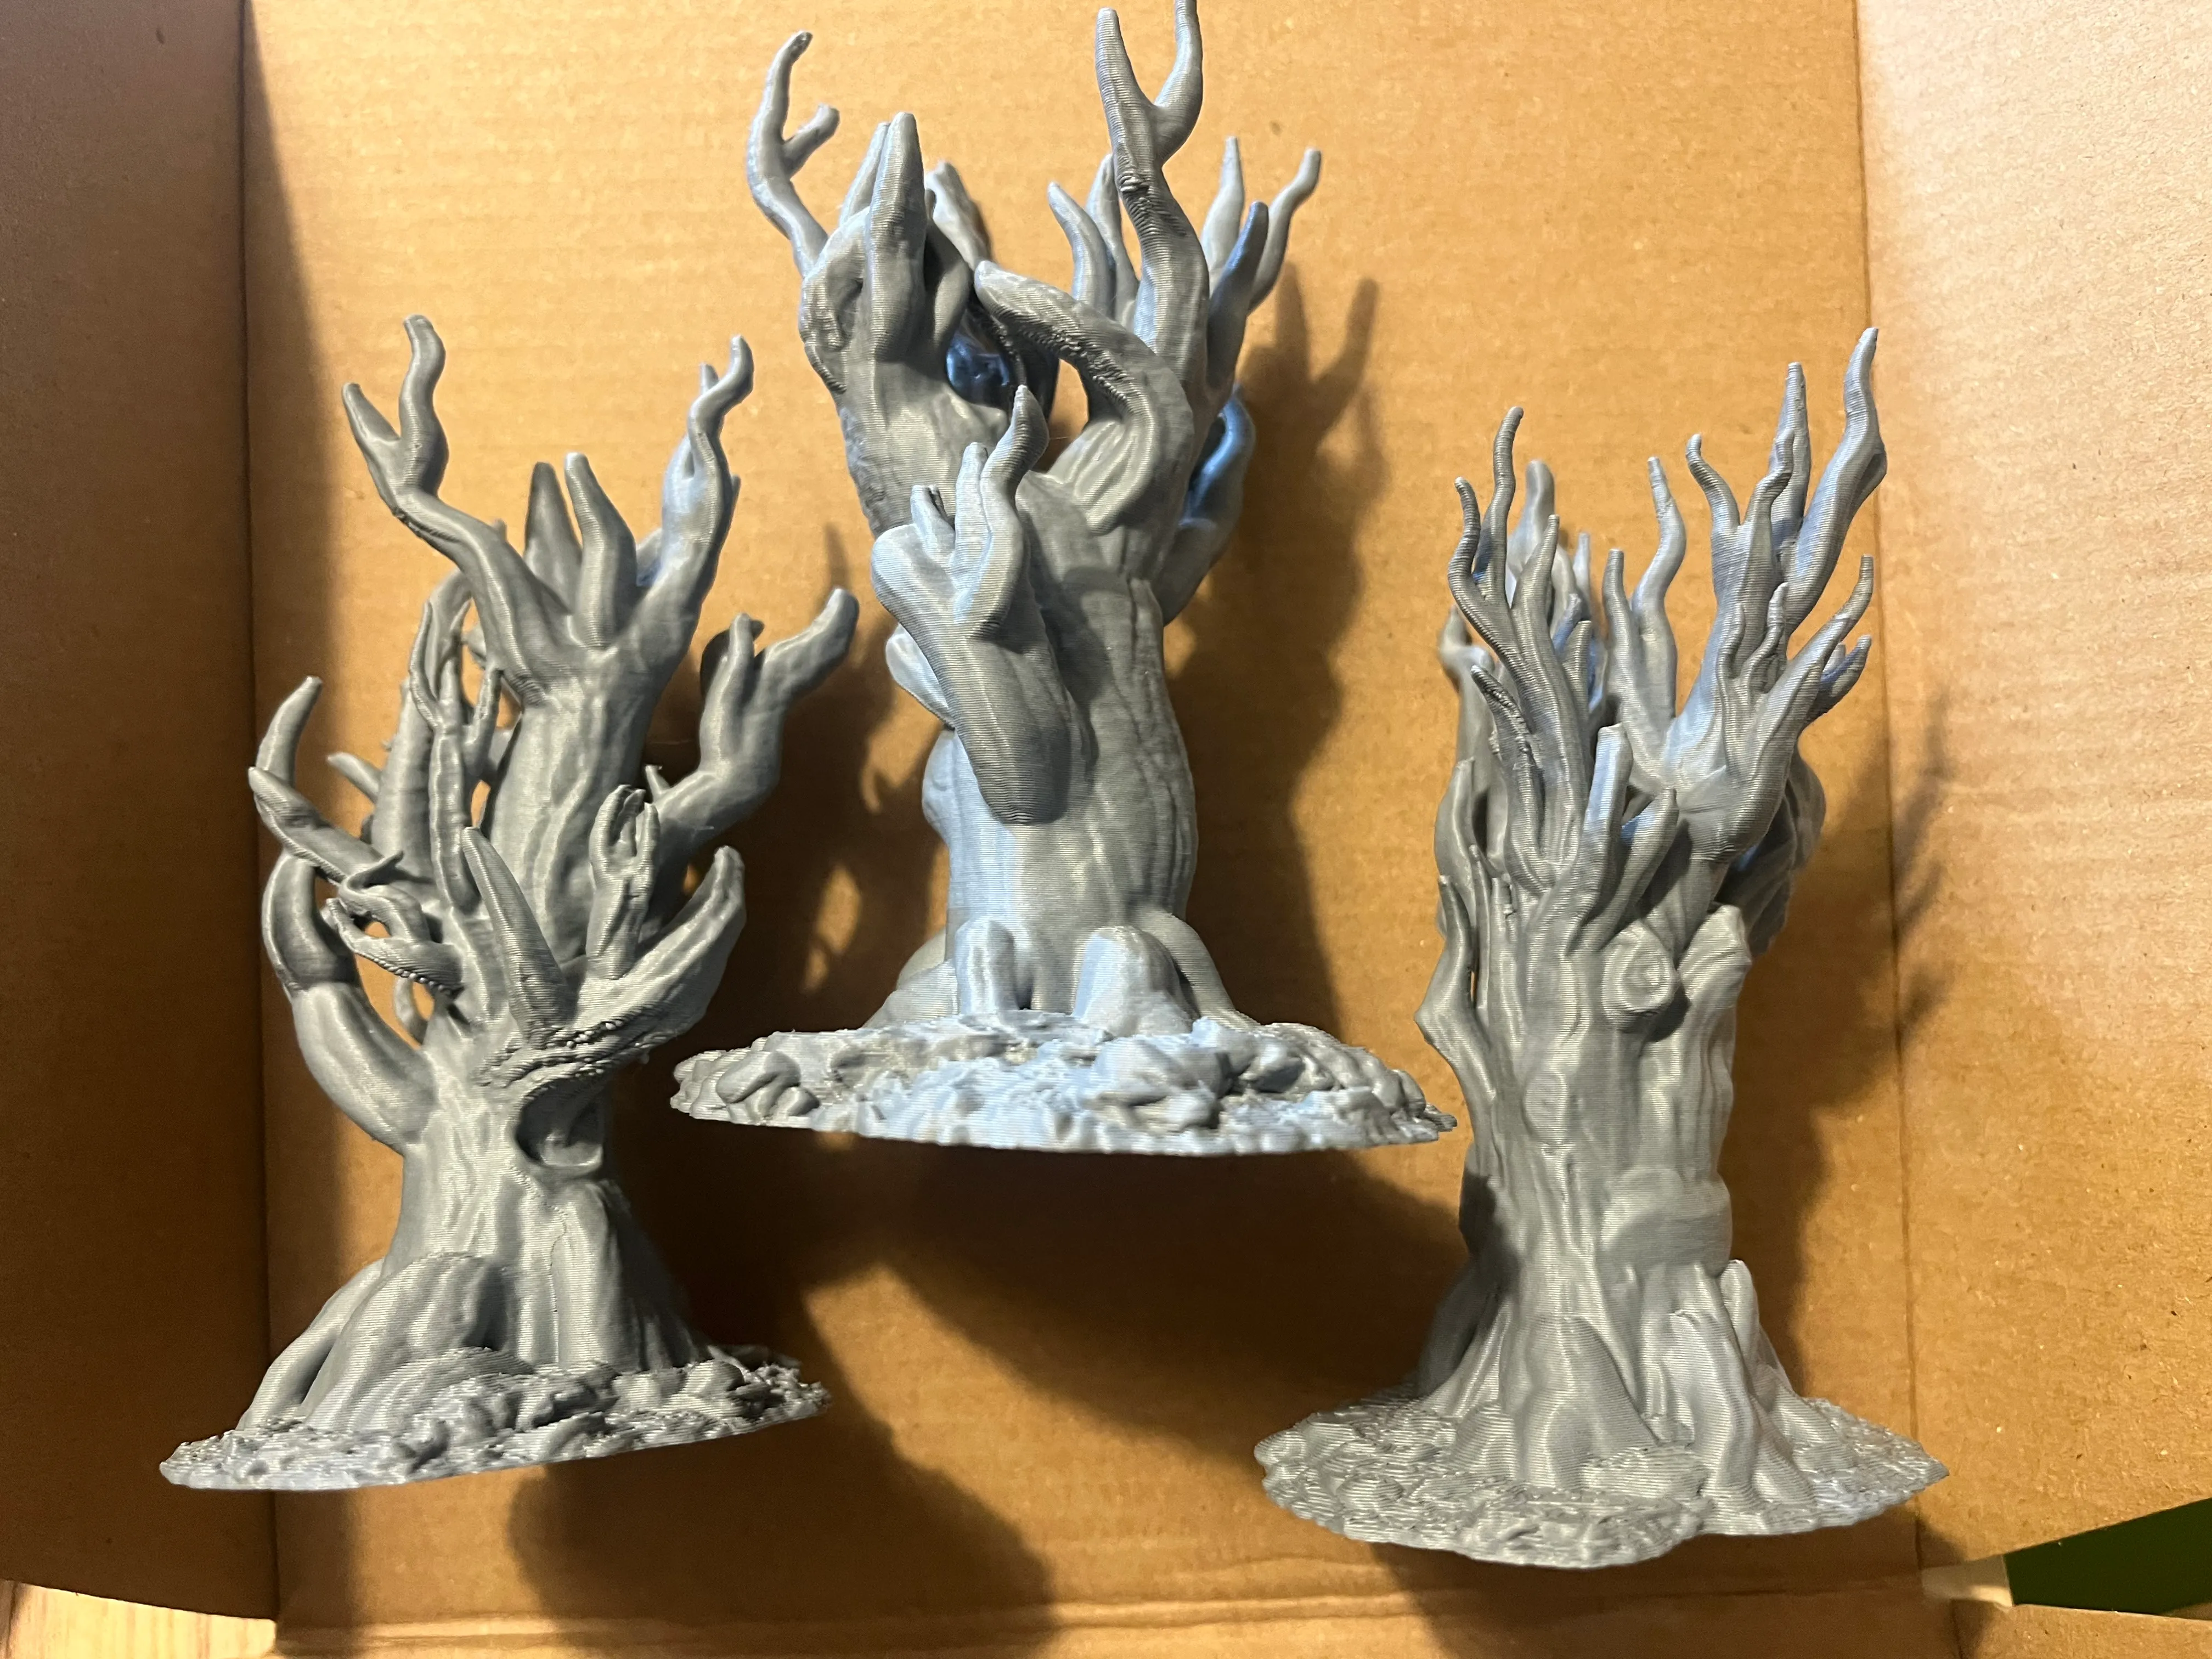
This is how the trees looked hot off the print bed. They would probably be fine painted as-is, but the trunks felt broad and a little flat. I wanted something more dramatic. Gnarled bark that made them feel old. Haunted, even.
Sculpting
The surfaces were broad and flat enough, at least on the trunks, so there was room to lay down sheets of clay or putty and sculpt the bark.
My first attempt was with air-dry clay. It was messy to roll out. The water needed to keep it from sticking made everything slick and slightly unpleasant to handle. Once the clay set a bit, I pressed texture into it with a sculpting tool and left it overnight.
By morning, cracks had started to show. The bark did not have the depth or fidelity I was hoping for. It felt surface-level.


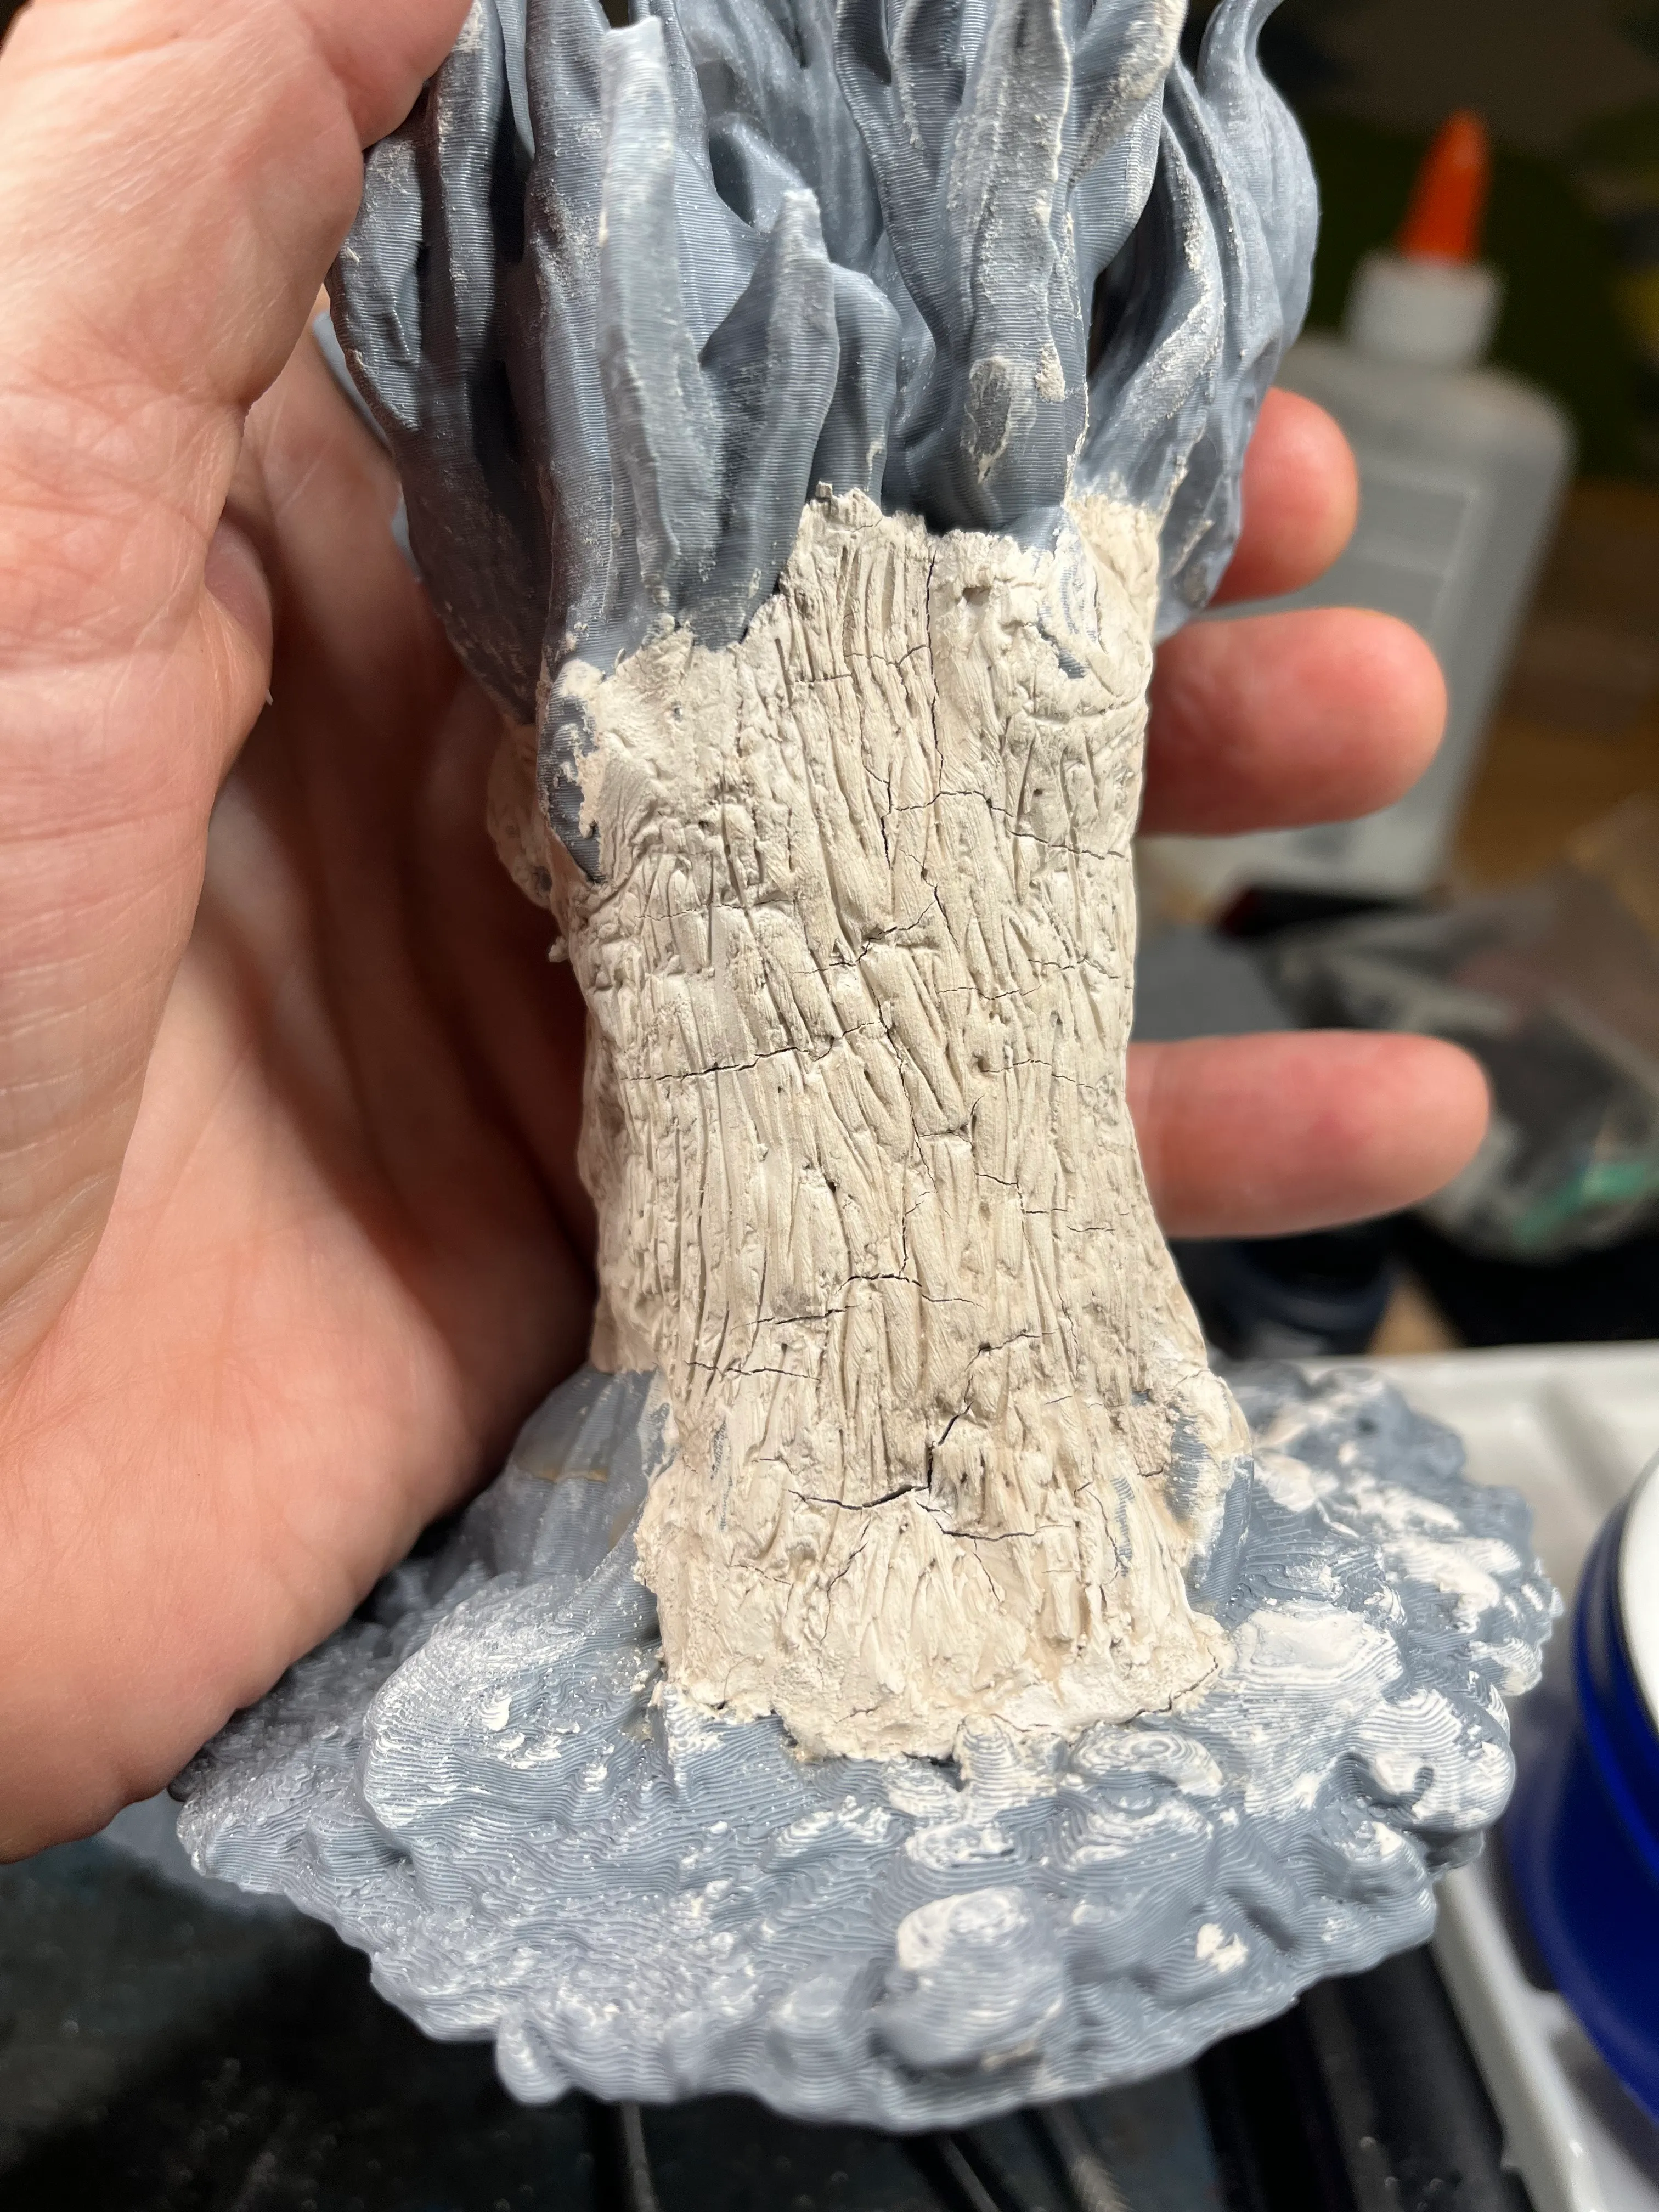
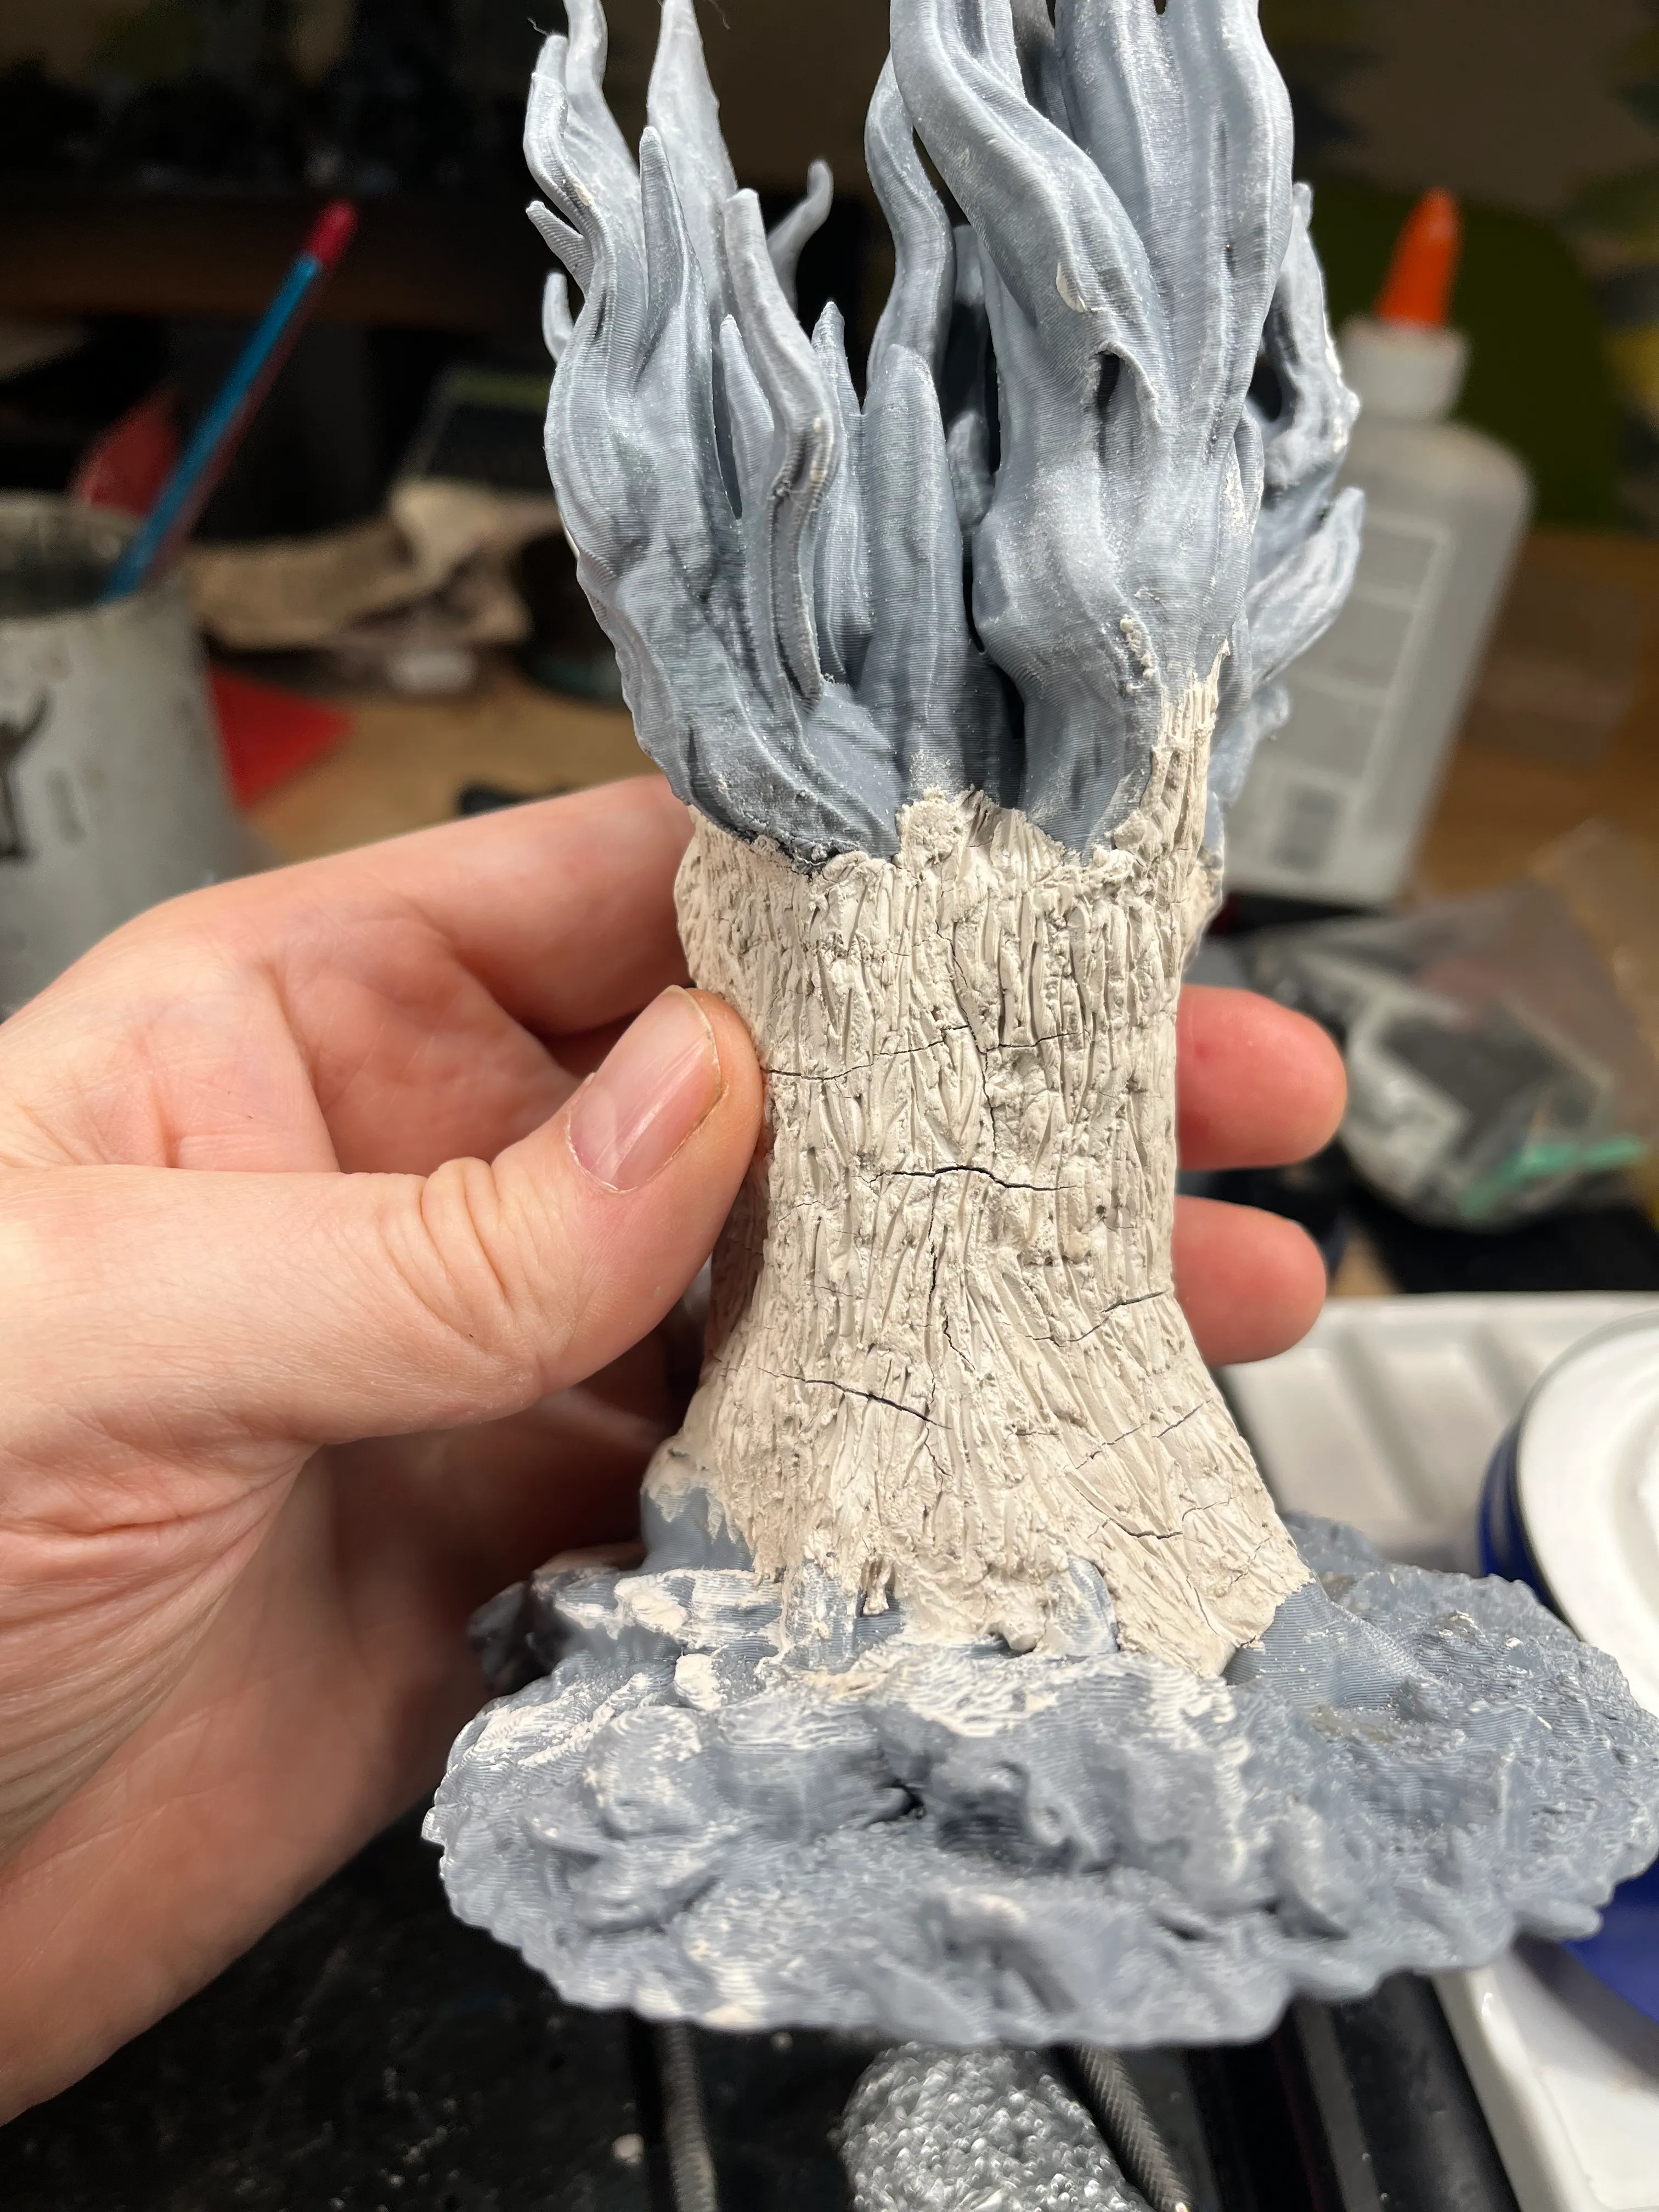
My next try was with Apoxie putty. I rolled out sheets and pressed them onto the trunks. After about an hour, once it had firmed up, I started carving into it. I did a first pass on each tree, then about thirty minutes later came back and reworked the bark, cleaning up edges and wobbling the sculpting tool into the crevices to deepen them.
I tried to think about how the tree might have grown and twisted, and let the bark follow that tension instead of just cutting lines. That part felt more honest.
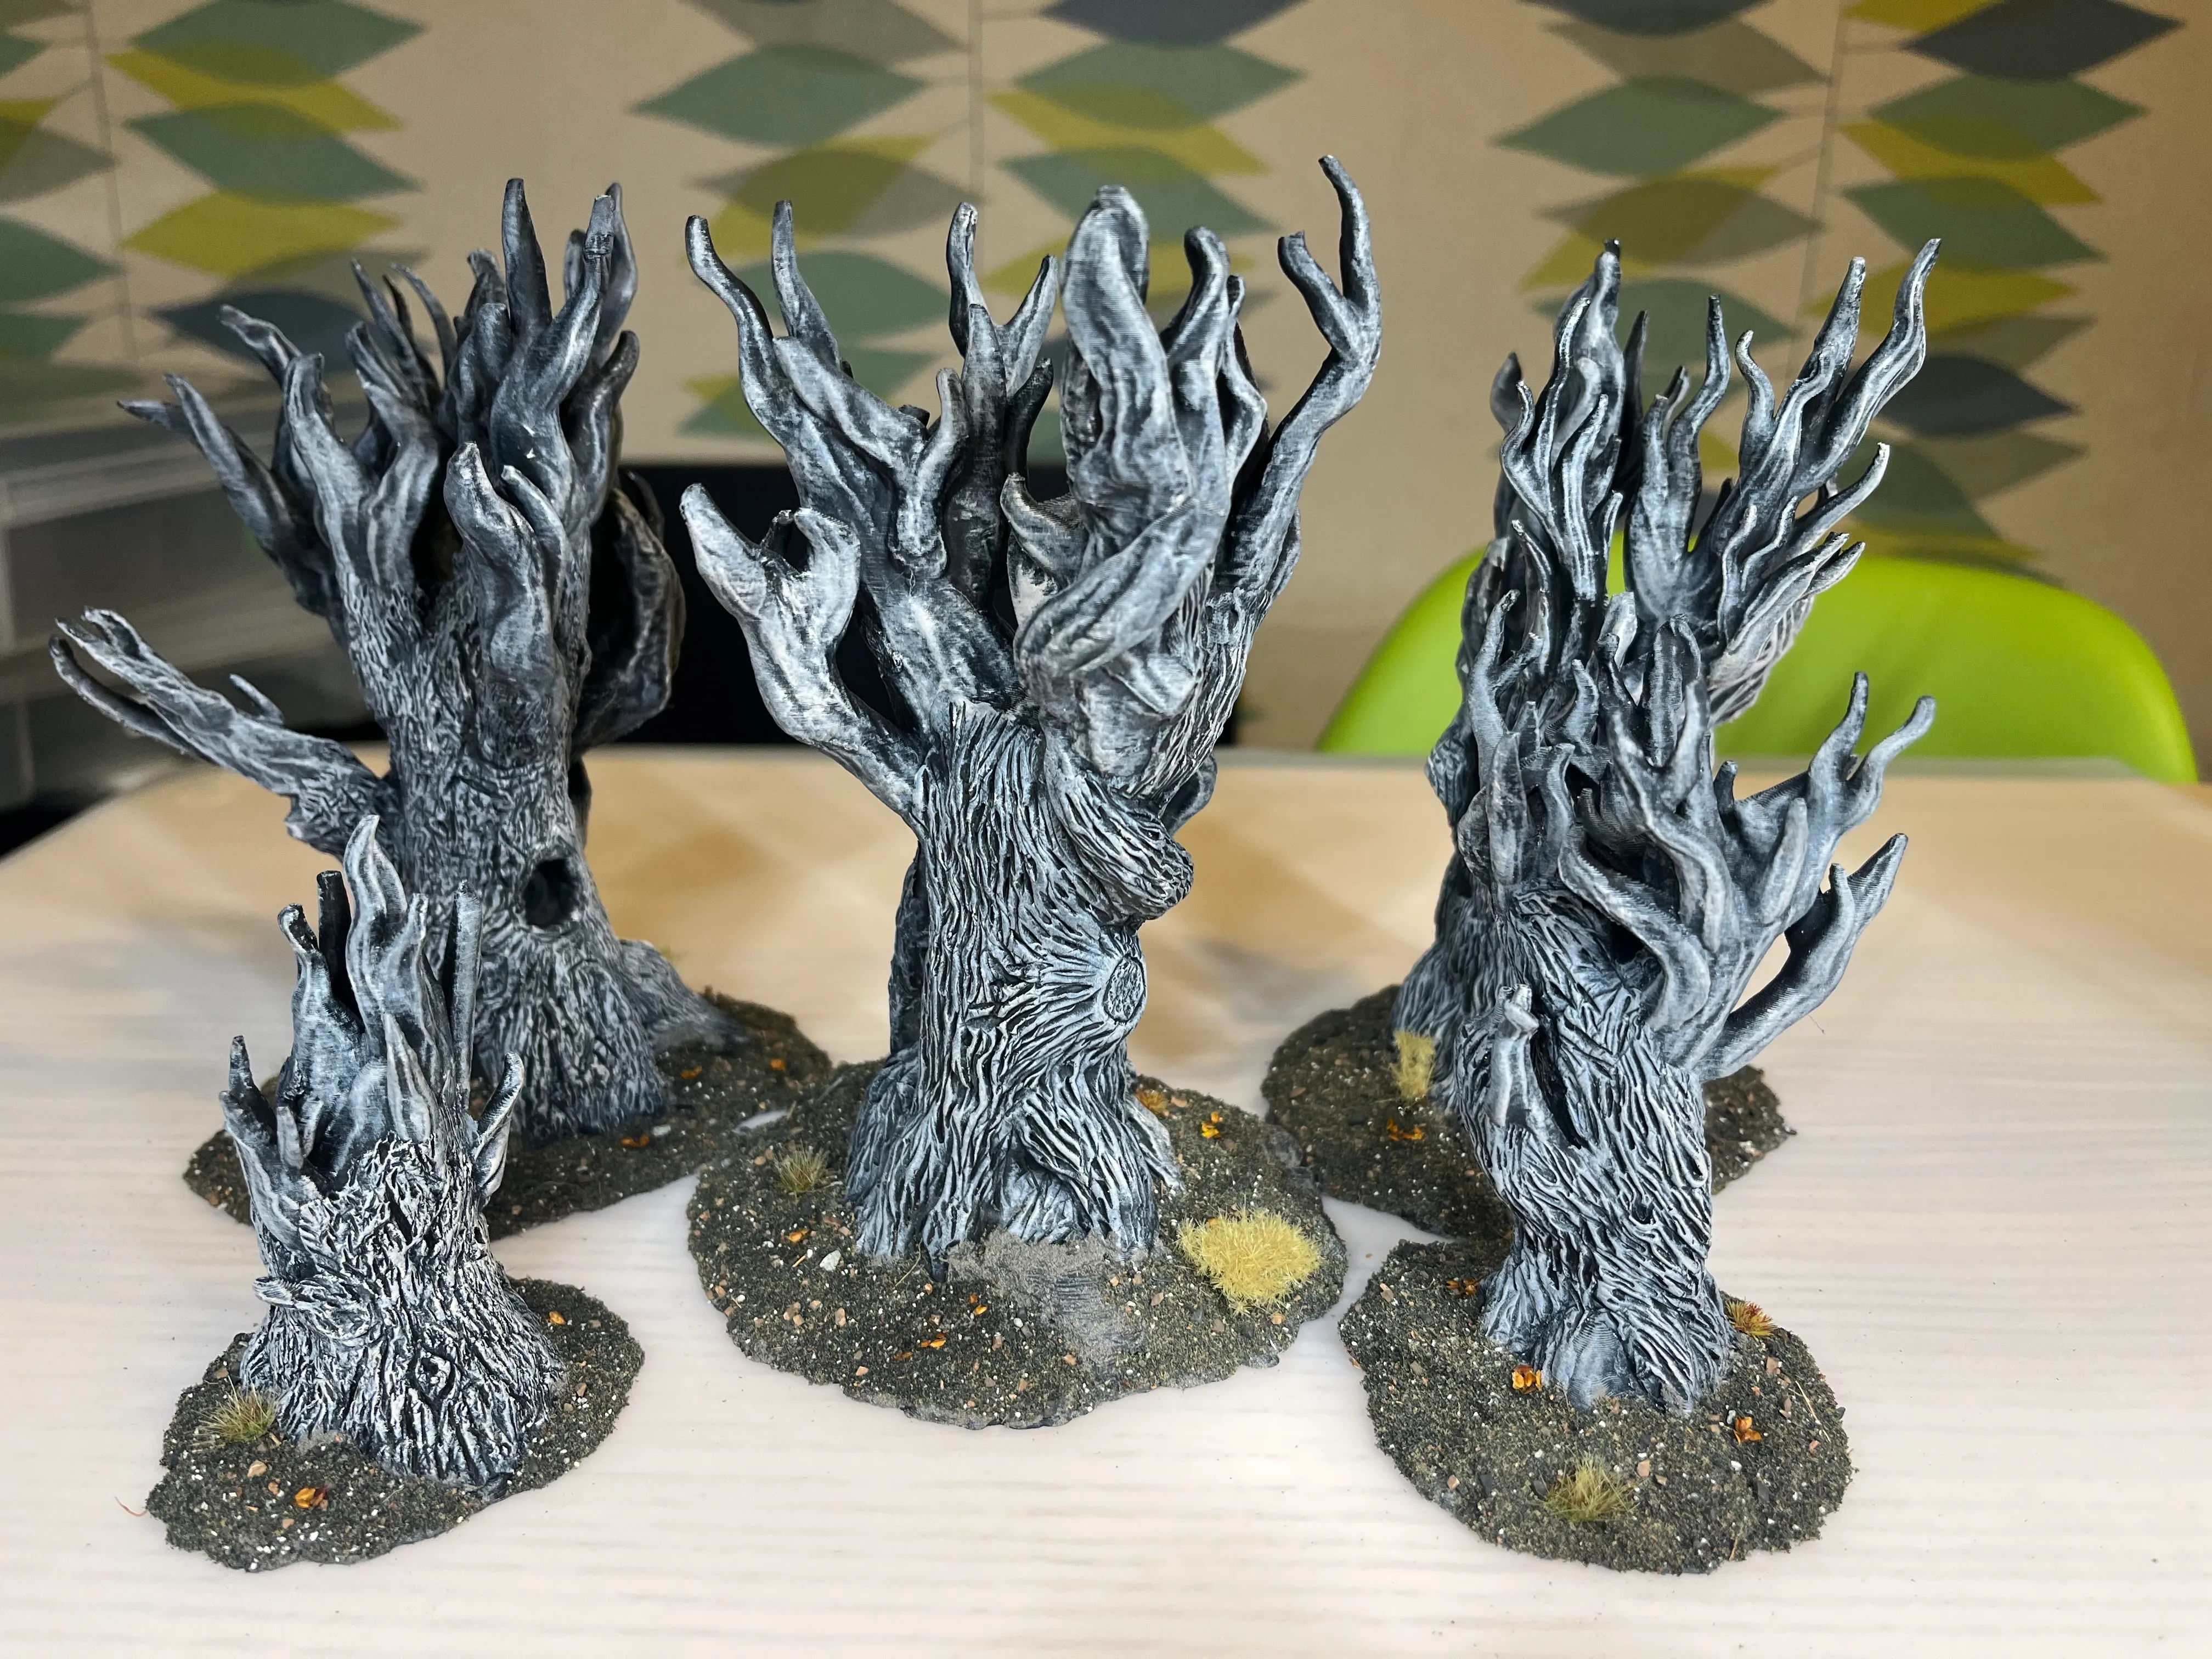
Painting
From there, I primed everything black and overbrushed with oil paint, a neutral light grey with just a touch of brown. I like using oils for this. You can push the contrast harder, and you get time to adjust. If the highlight feels wrong, you can soften it or pull it back.


Basing
For the base, I first covered it with Vallejo Mud and then added my usual custom basing mix.
It is a bit of Woodland Scenic’s Soil mixed with fine coconut husk and a small amount of different colours of gravel, brown, grey, and black. I topped it off with some Greenstuff fall leaves in a couple spots and a few grass clumps here and there.
Things I’d change
I do not love that I could not get the putty worked cleanly into the smaller branches, but it did not seem practical at that scale. I am not unhappy with the result, but on future trees I might sculpt a sharper edge where the epoxy stops, as if the bark has started to peel away from the smaller branches and expose softer inner wood.
Near the end, I experimented with softening the depth and density of the crevices where the putty transitions to bare FDM, trying to taper the texture so it blended more naturally. In a couple spots it works. In others, it is obvious. That edge is harder to control than it looks.
For painting, I might try a black basecoat with a bit of brown sprayed in to give it more warmth and help it read as wood instead of stone. I might also add slightly more brown to the overbrush, or mottle in some brown ink through the airbrush for a bit more variation.