Plaster and Rubble: An Urban Basing Tutorial
Plaster and Rubble: An Urban Basing Tutorial
I’ve wanted bases that look like broken city — cracked concrete slabs, fallen walls, debris underfoot. The kind of ground a Heresy-era warzone actually leaves behind. After trying a few approaches, I landed on one that’s become my standard: pour plaster, crack it, base it. It’s cheap, fast, and the results are hard to fake any other way.
Here’s the full process.
The Pour
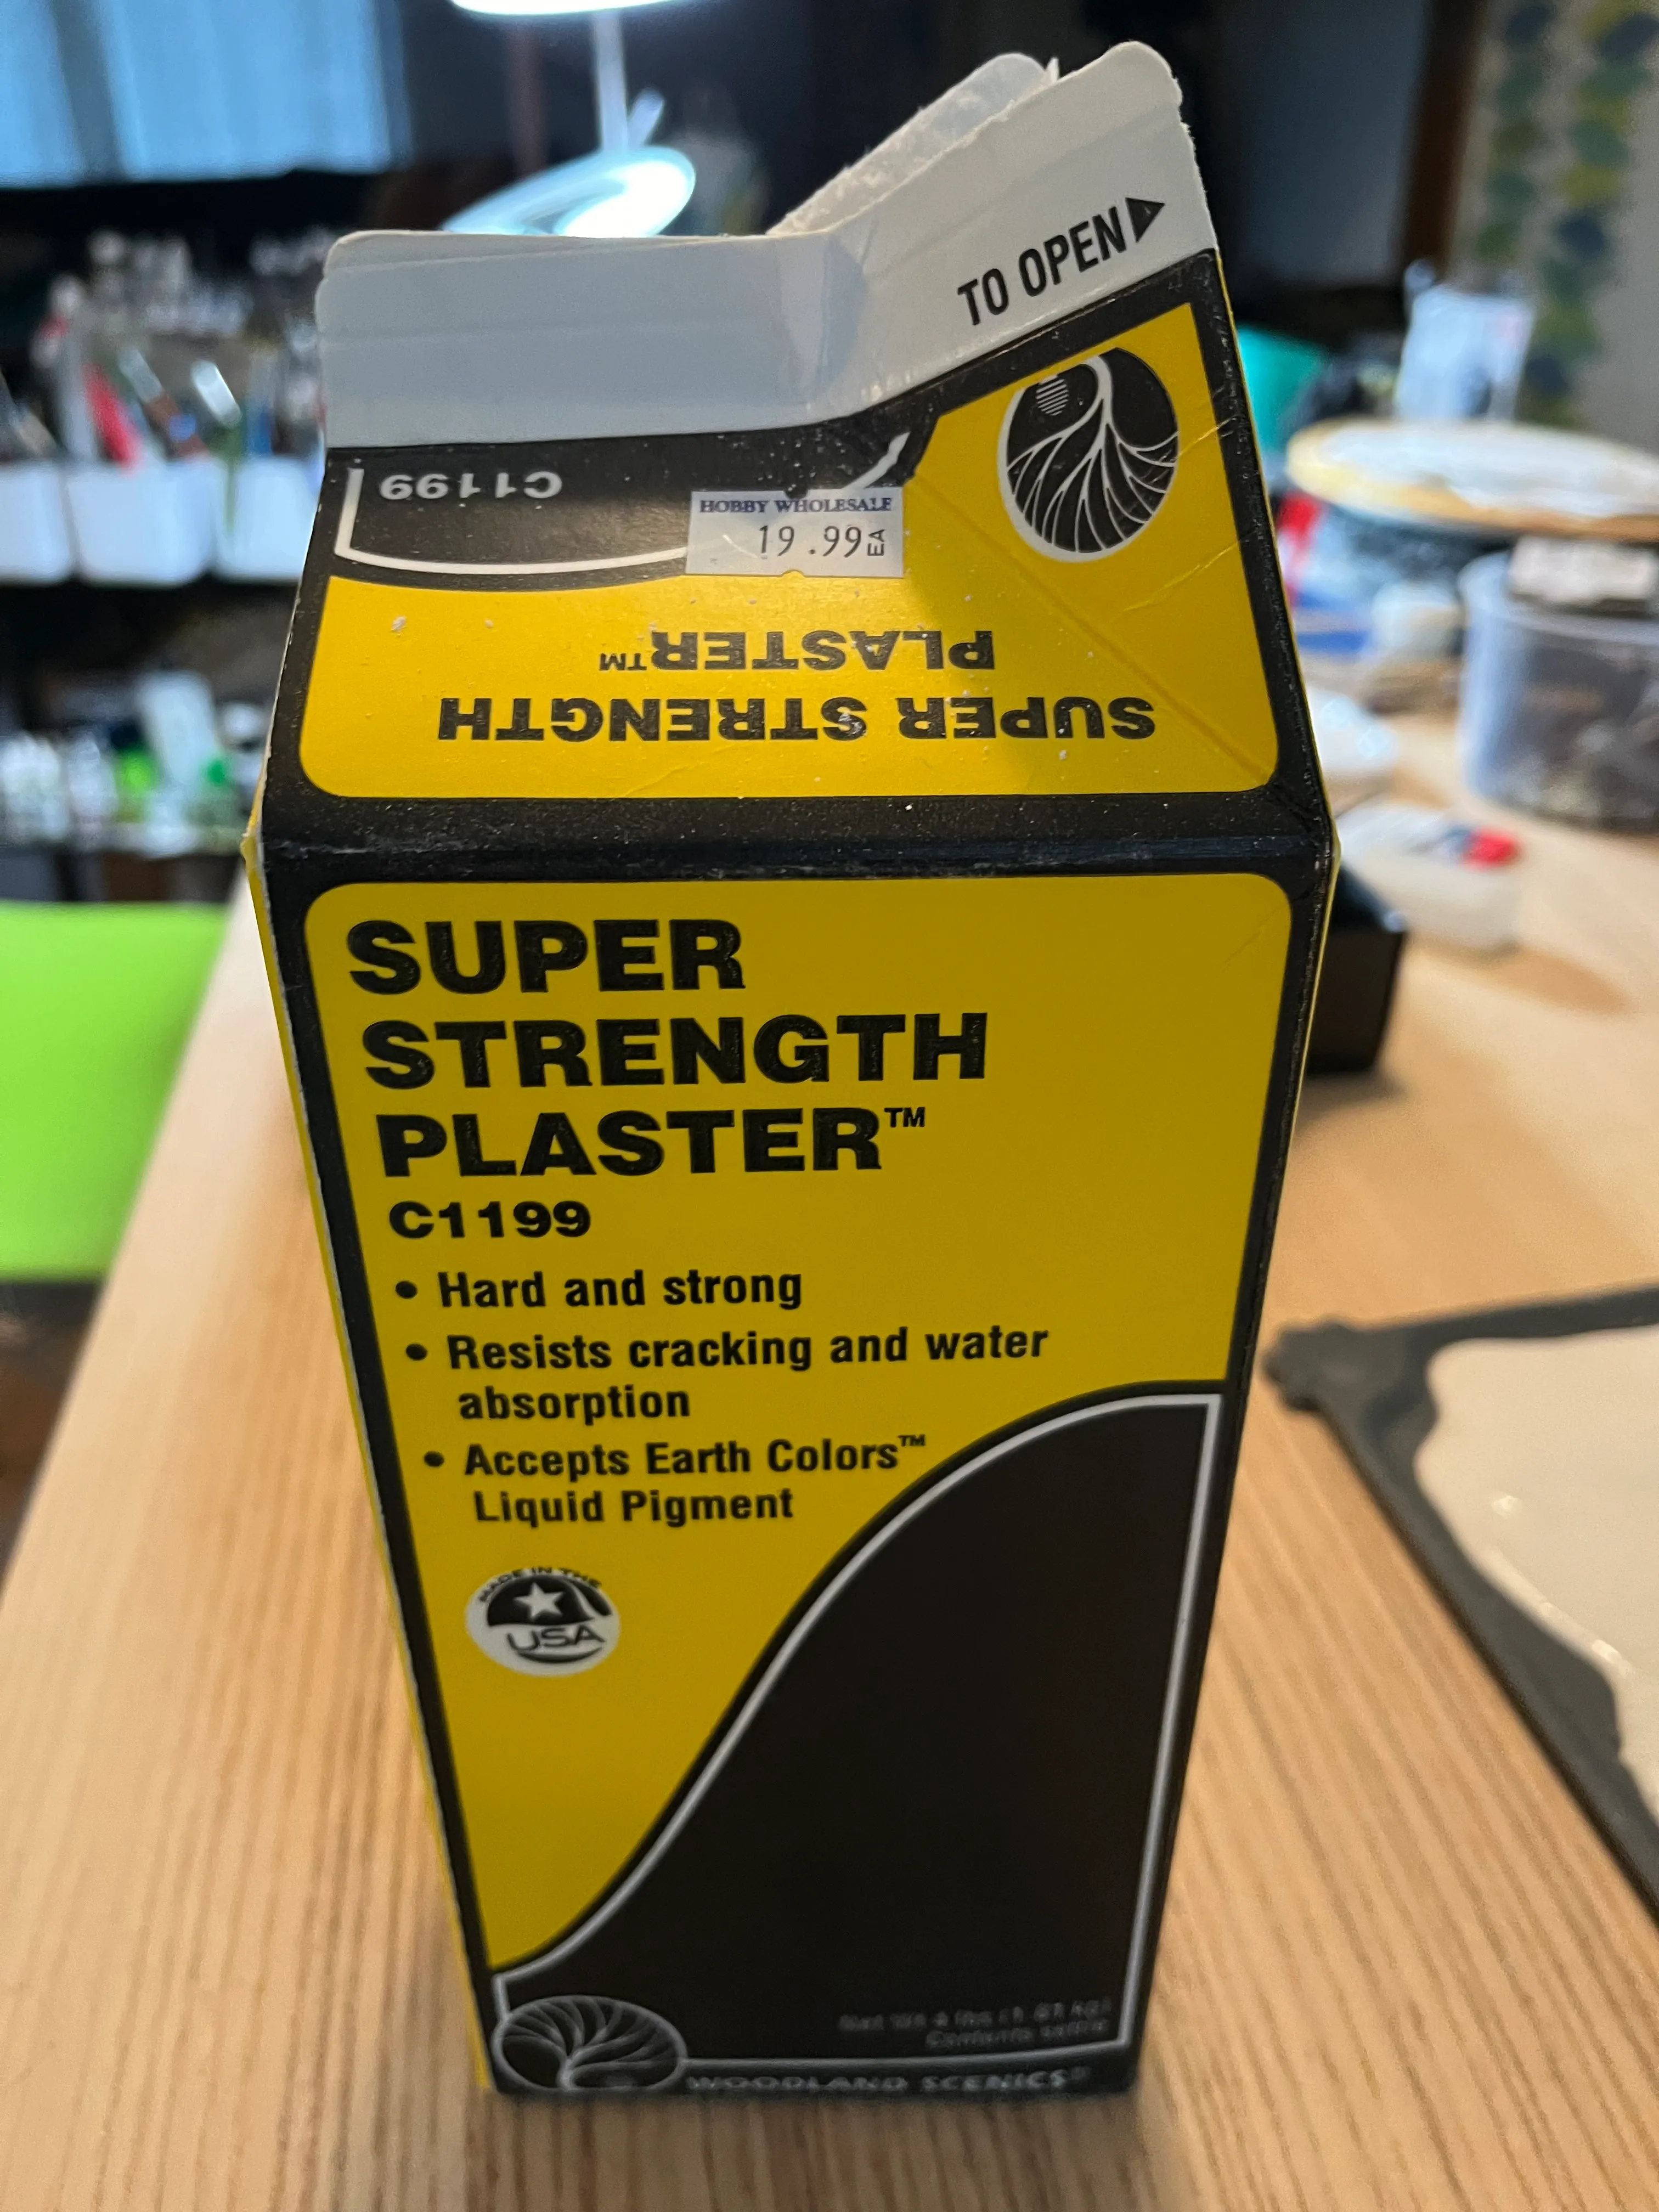
Woodland Scenics Super Strength Plaster is what I use. Mix it to a soupy-but-thick consistency — you want it to self-level when poured, not sit in a pile. Pour it onto a silicone mat with a lip to contain the edges. The silicone releases cleanly once it’s dry.

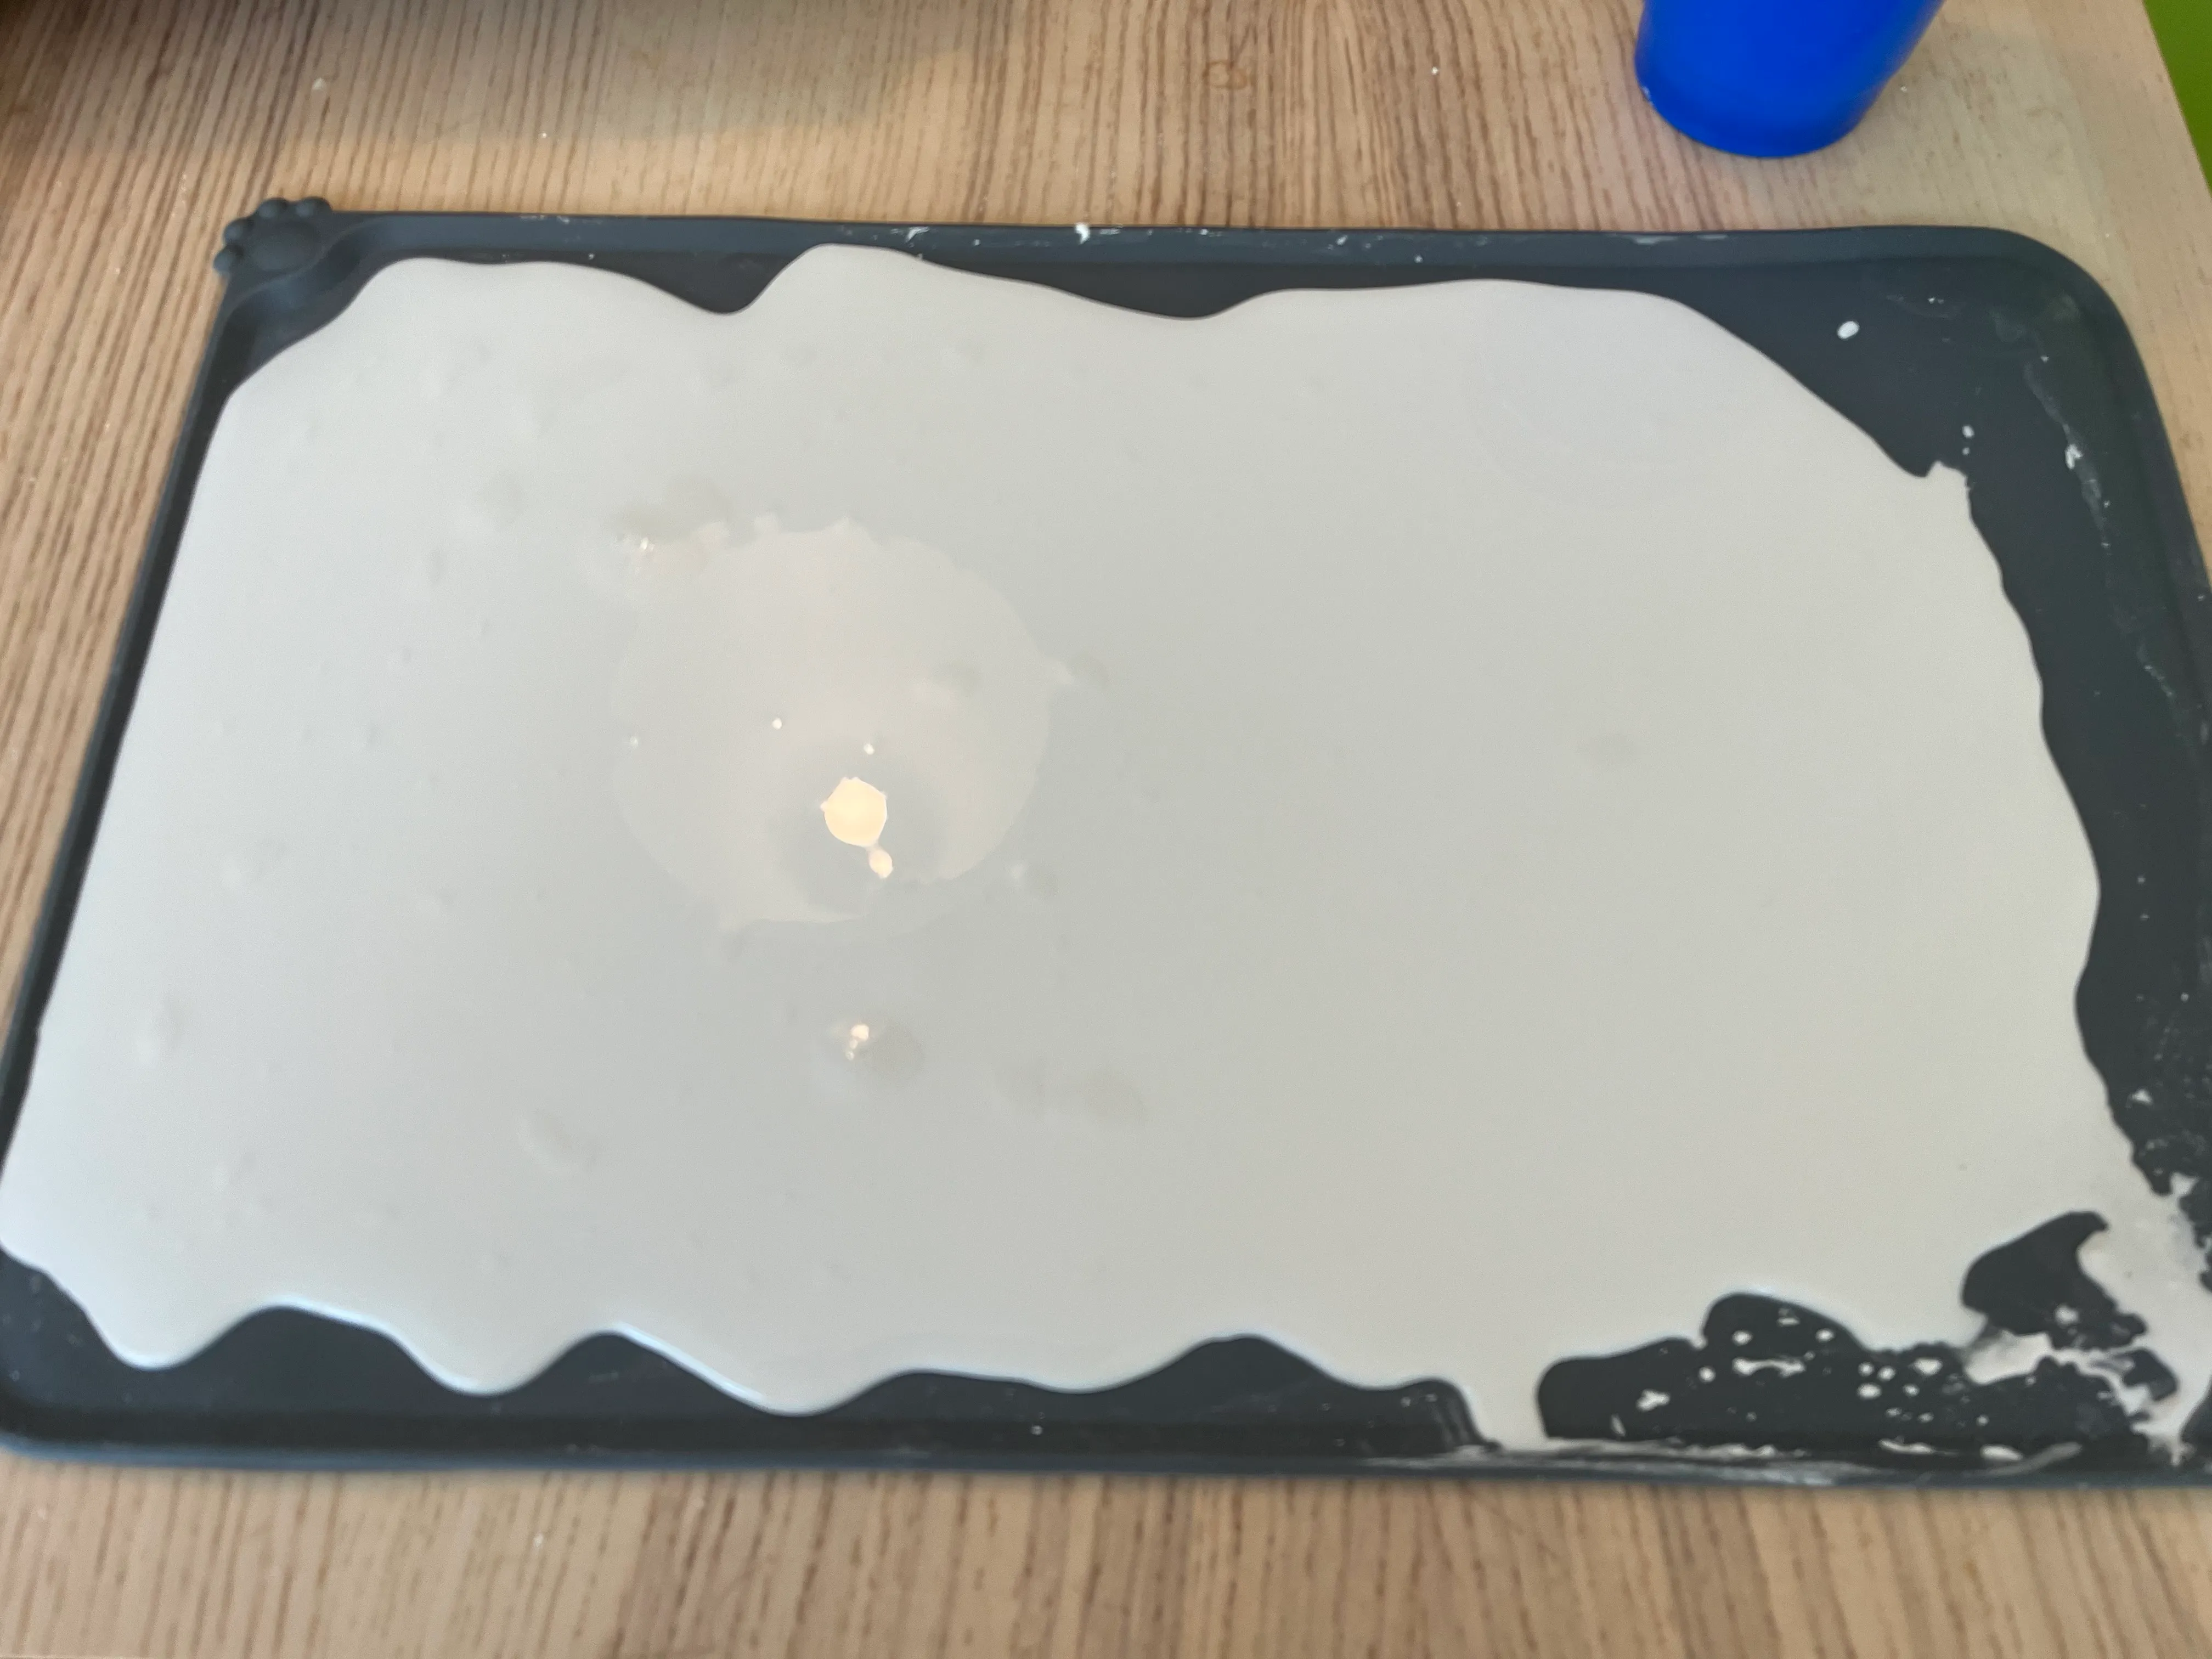
Once the plaster starts to firm up but hasn’t fully set, lift it off the mat and prop it up so air can circulate underneath. It speeds the dry time and helps prevent warping.


The Texture
Once the plaster sheet is fully dry, I brush on a thinned coat of AK Interactive Terrains Concrete. I thin it with water in a cup until it’s fluid enough to apply evenly across the whole sheet. This gives the surface a consistent, gritty concrete texture — and it tones down the pure white of the plaster, which makes the cracking easier to read.


Let that dry fully before moving on.
Breaking It Down
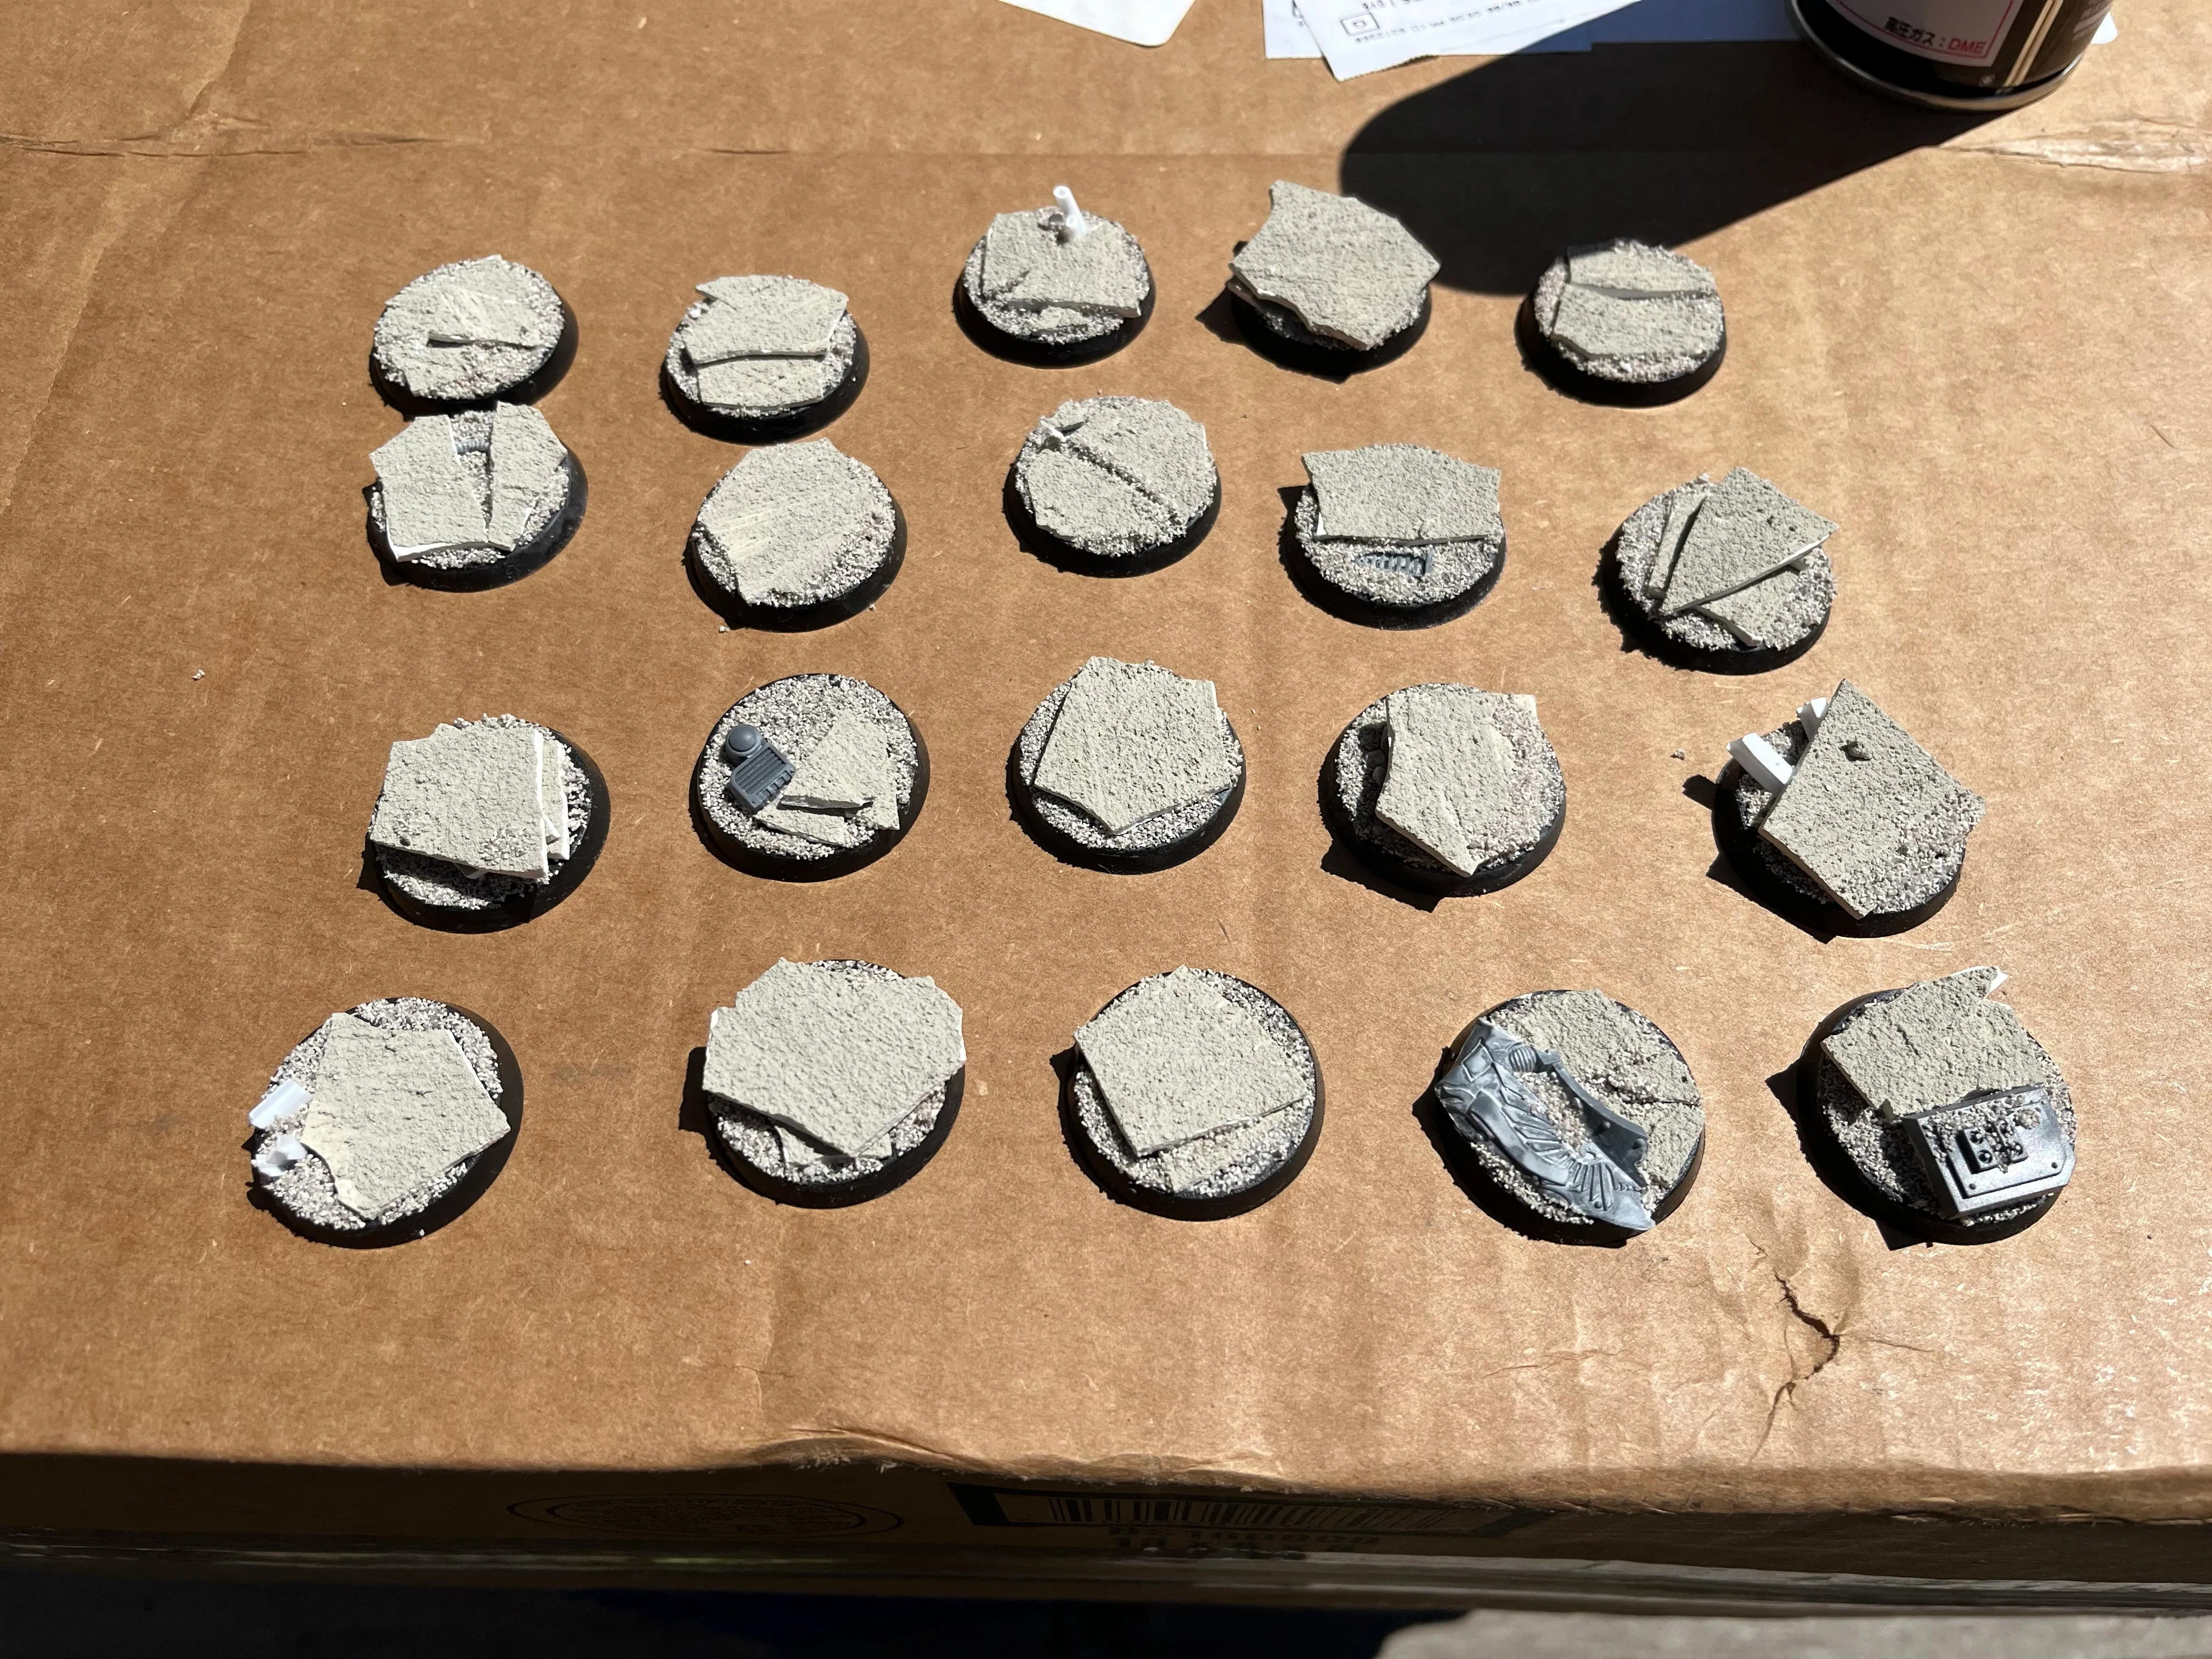
This is the part that makes the technique work: plaster cracks the way concrete cracks. Break the sheet by hand into irregular pieces — some large slabs, some fragments, some thin slivers. Stack them, angle them, overlap them. You’re building the impression of a floor that’s been heaved up, or a wall that came down.
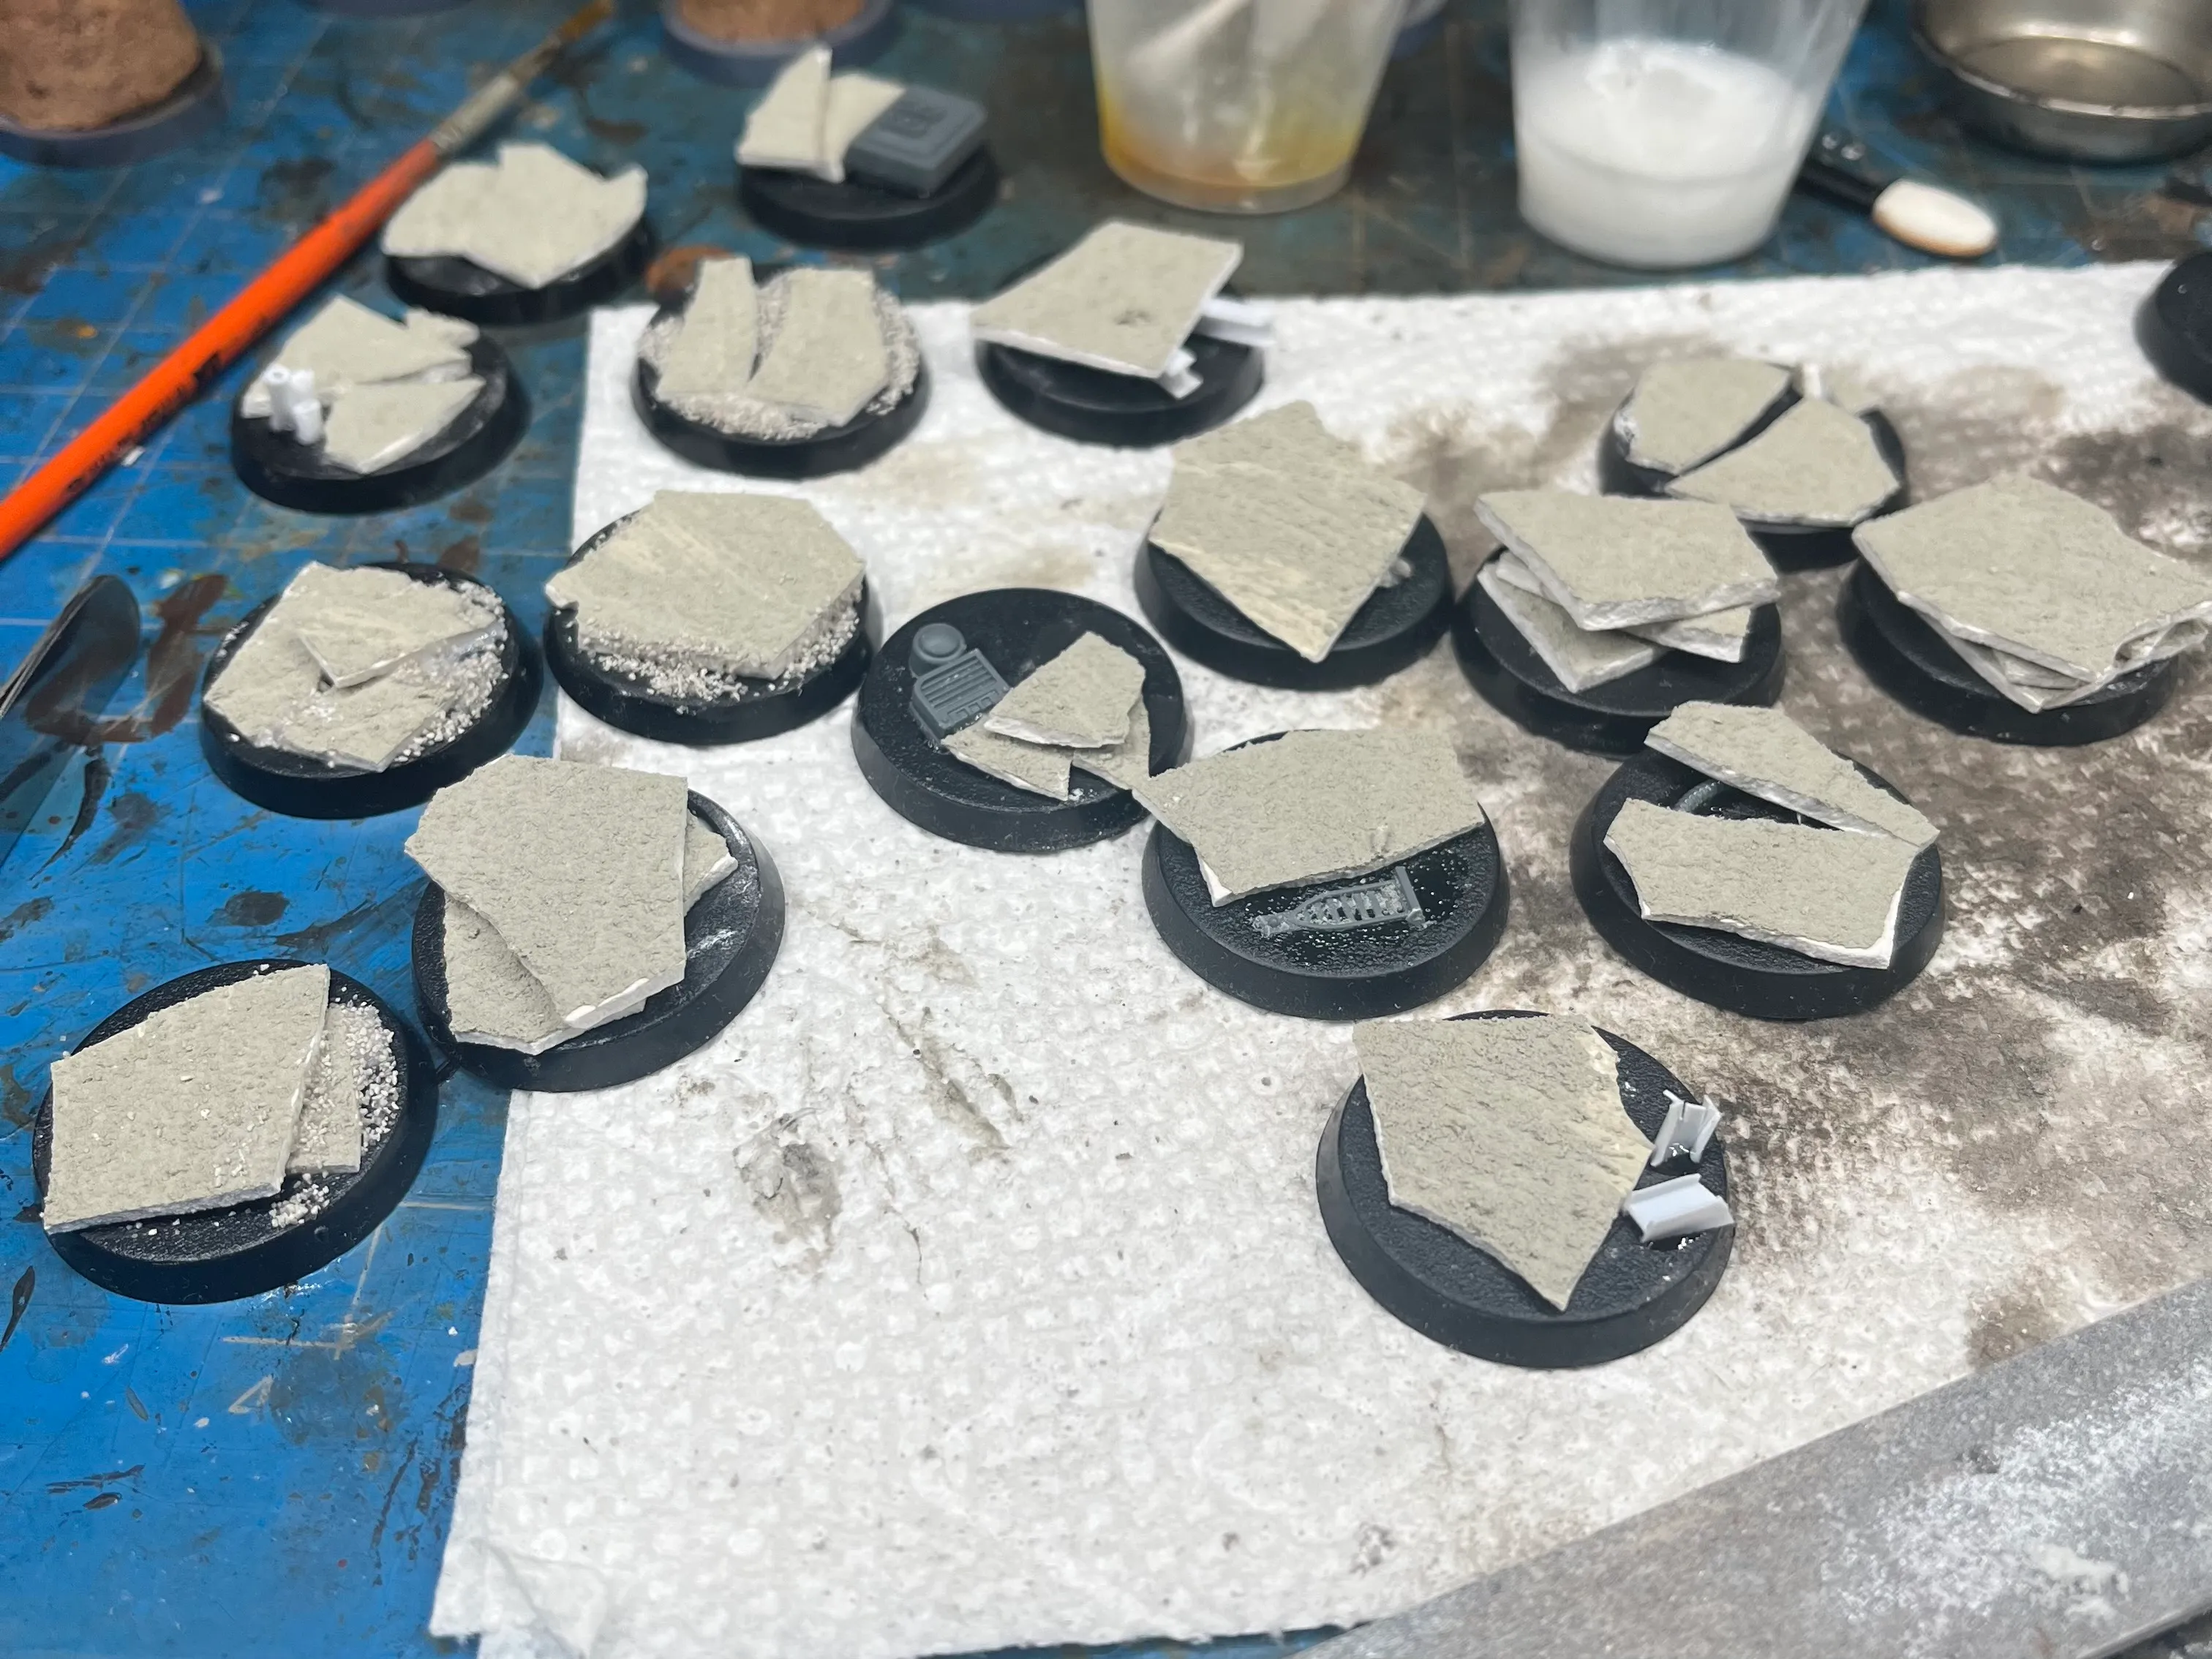

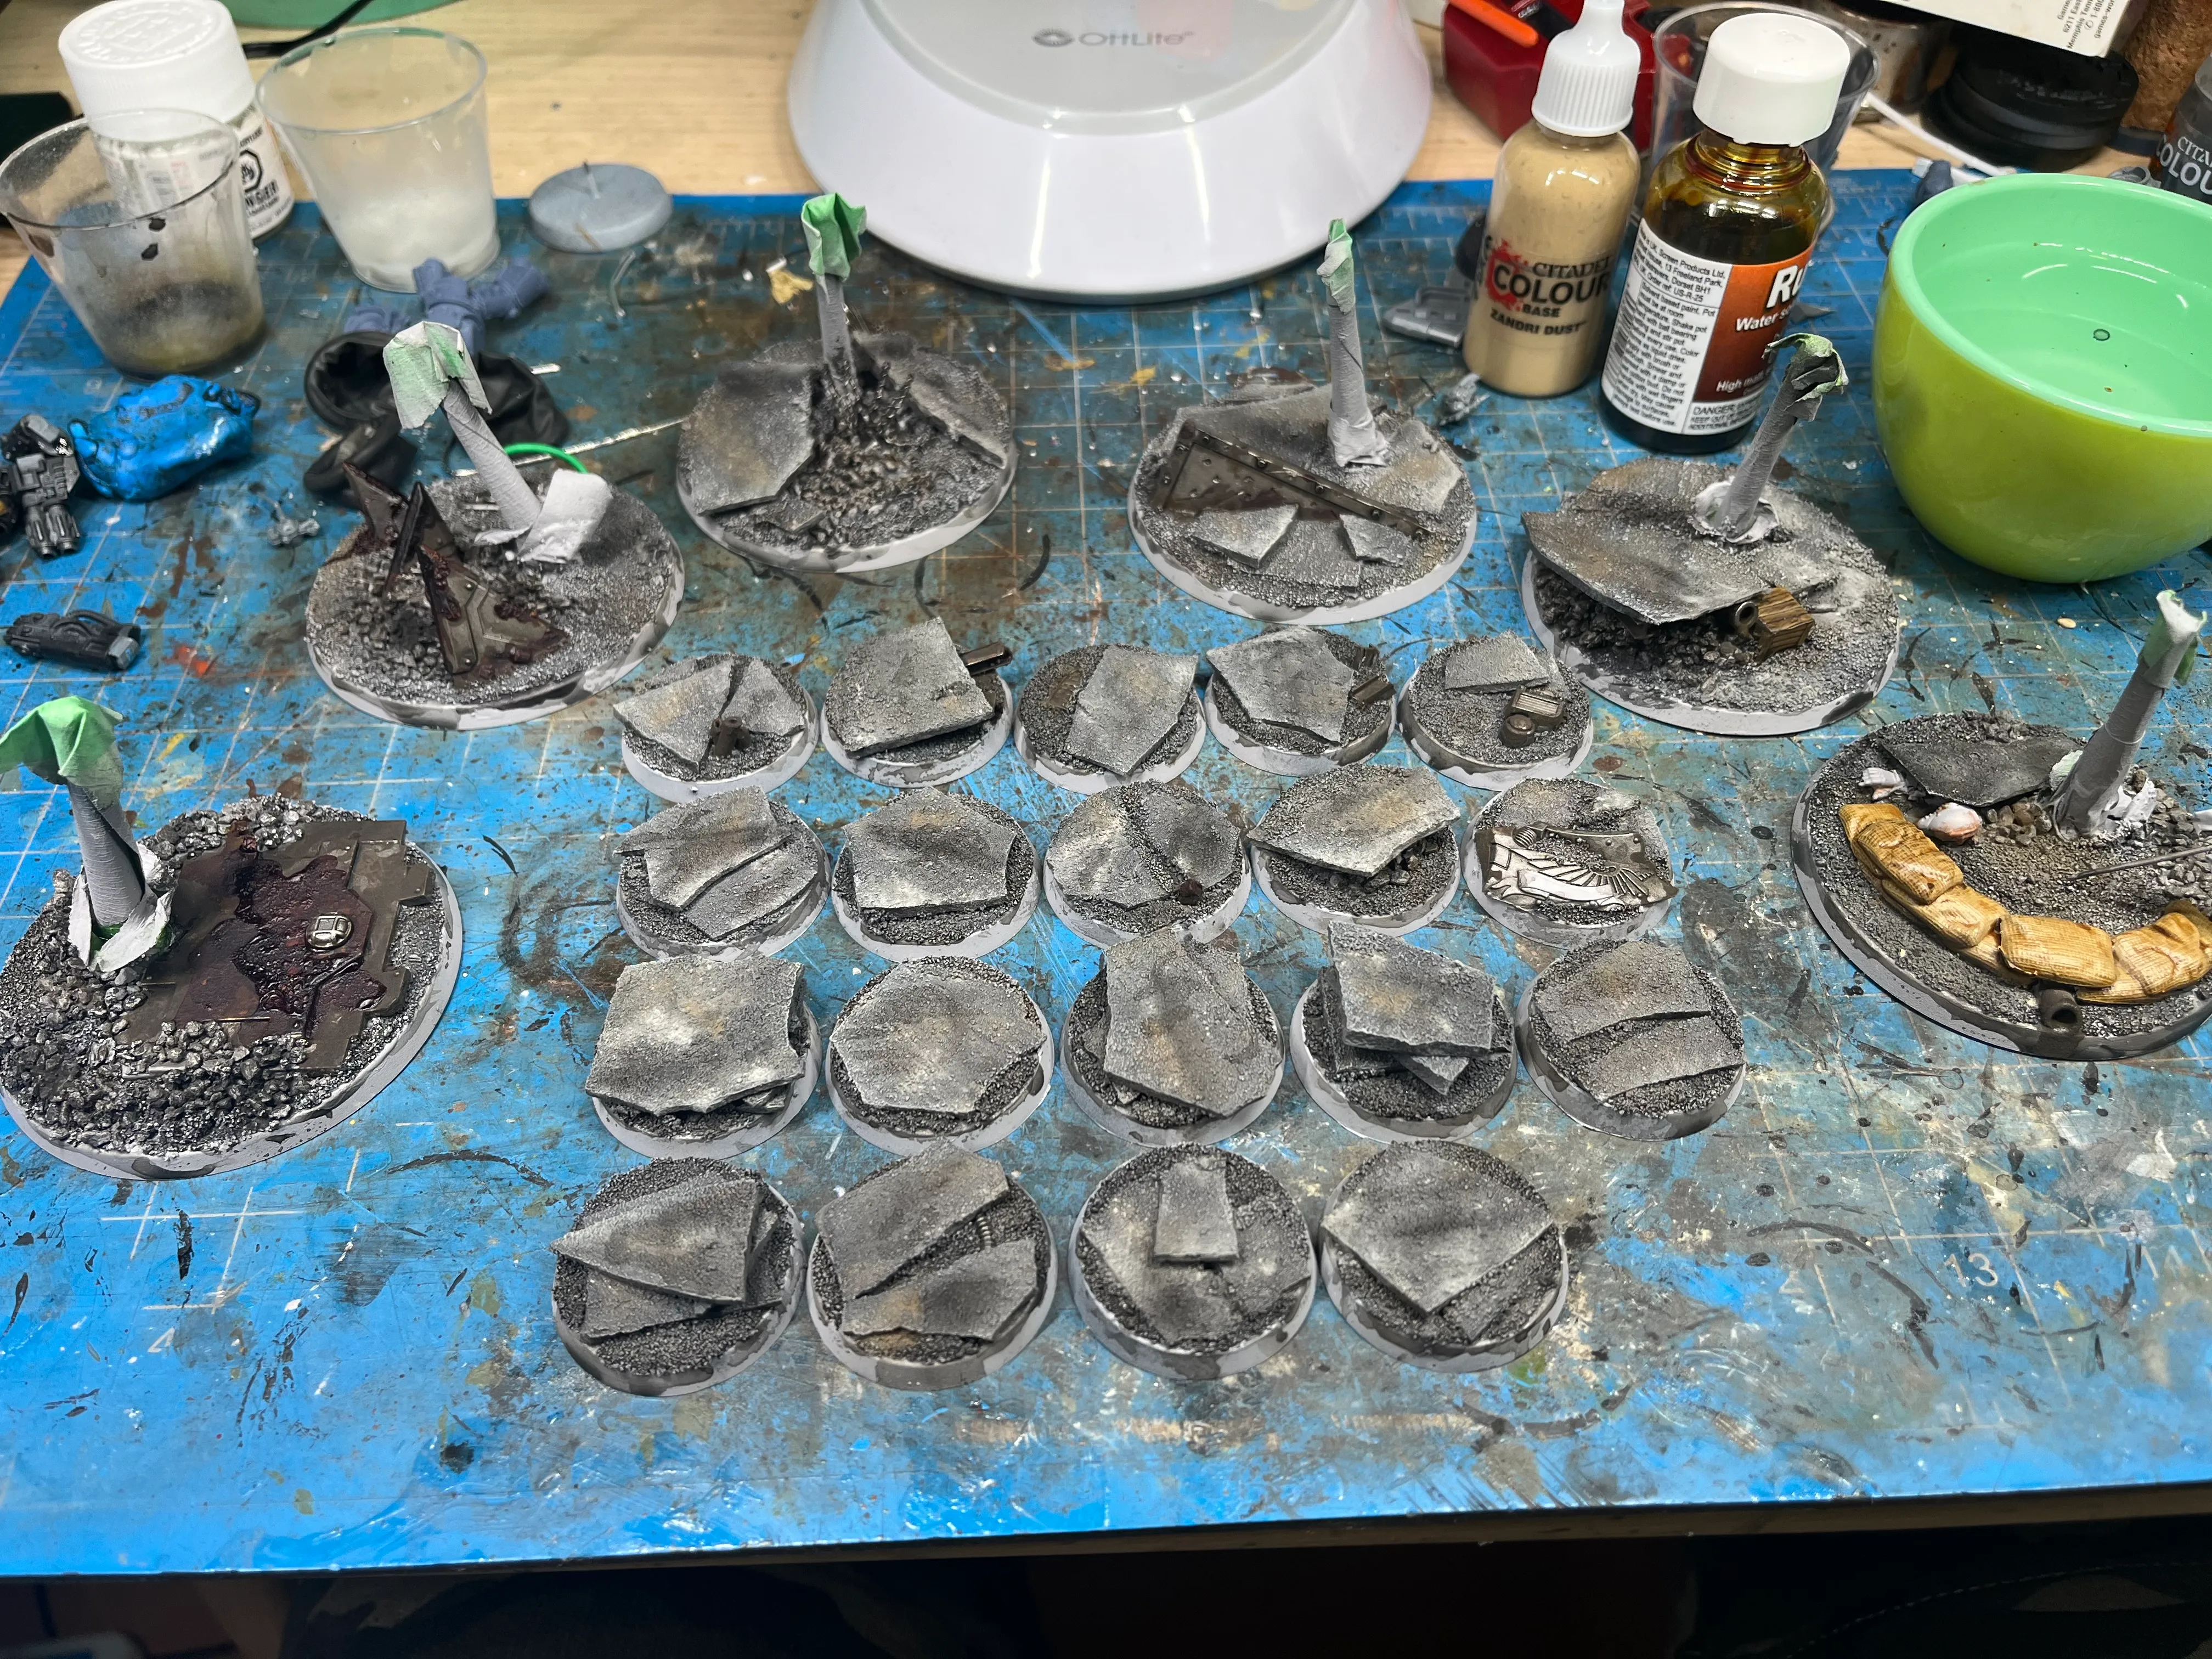
CA glue holds everything to the base. I mix in bits of debris — spare parts, polystyrene tube cut into pipe sections, straightened paper clip for rebar poking out of broken edges. Once the glue is set, I fill gaps around the base edge with PVA and fine gravel.
One of the real advantages of this method is how well it scales. Once you have a sheet or two cracked and ready, it’s easy to sit down and knock out a full army’s worth of bases in a single session. Getting ahead of the basing early means you’re not scrambling at the end.
Paint and Weathering
Spray first. I use a couple of greys and hit them from different angles to build in variation before any brush touches them. A light grey from above, a darker tone from the sides. You want the slabs to read as separate objects, not one flat surface.


Then washes: Basilicanum Grey into the texture and recesses, Agrax Earthshade into the deeper gaps and gravel. Let them do the work.
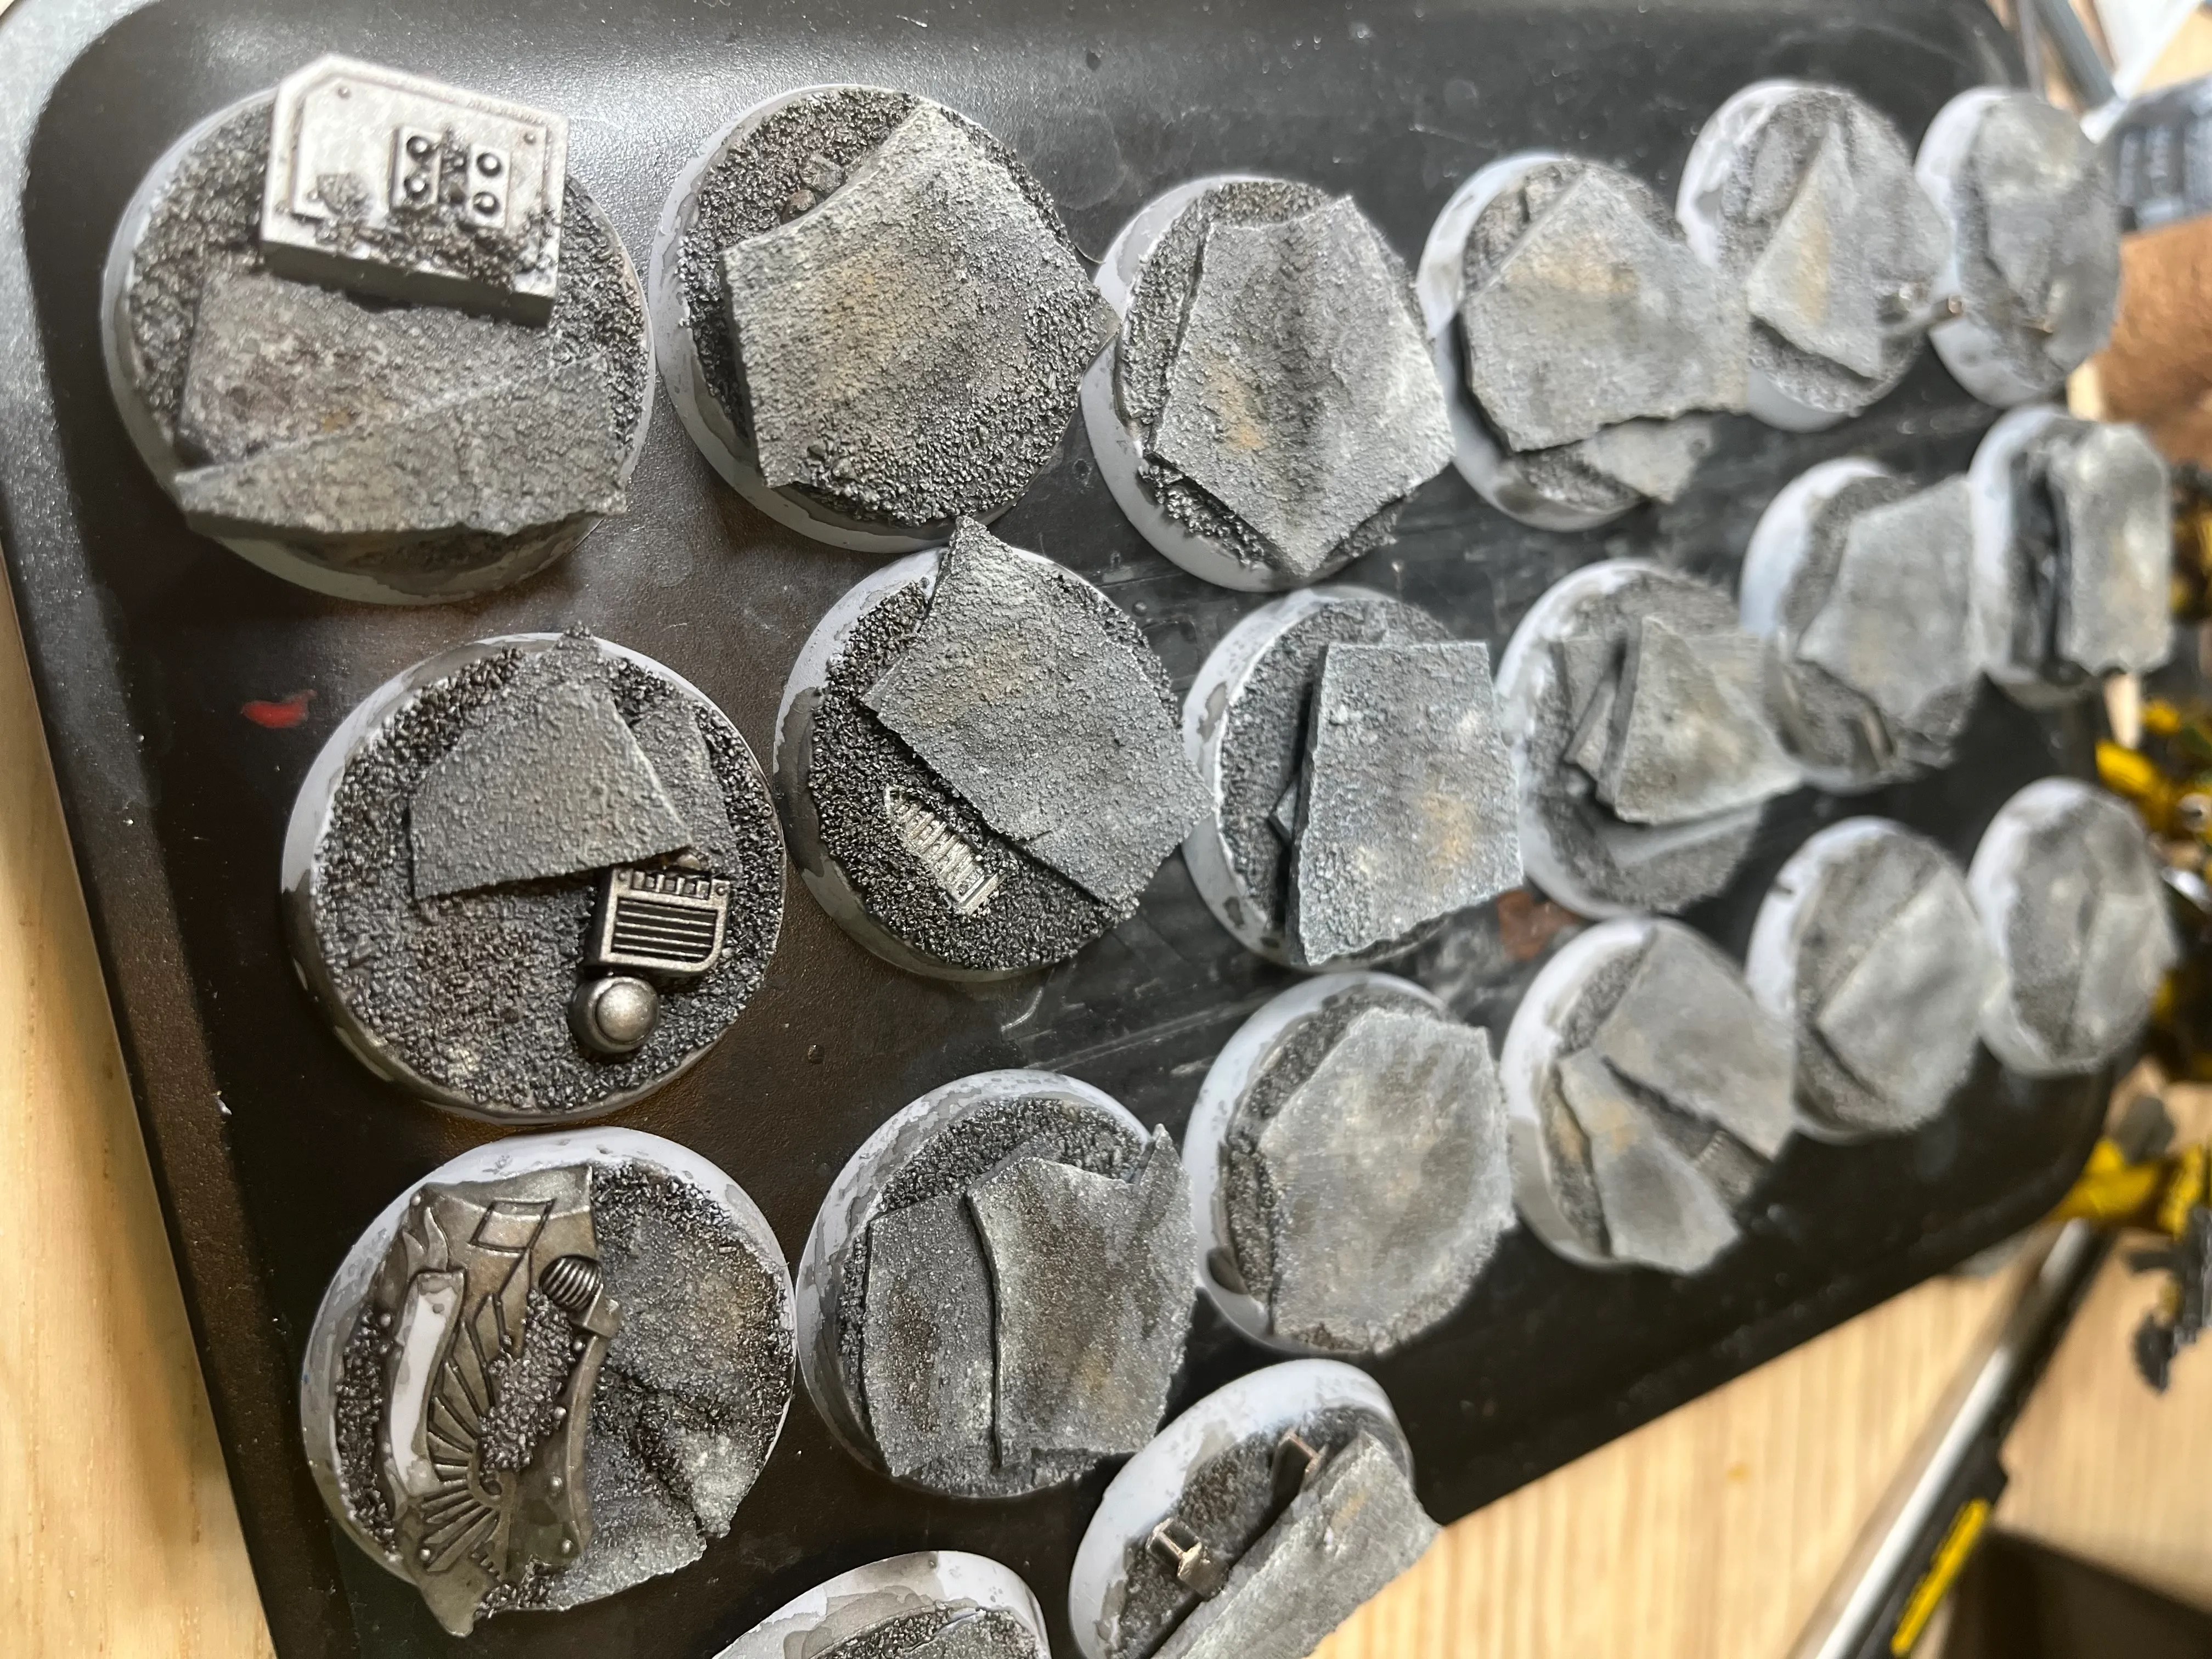
The final step happens after the models are based: a sparing drybrush of dry pigments across the base and up onto the lower legs — light dust, medium dust, earth, smoke. It ties the model to the ground and makes everything feel like it’s been sitting in the same ruin for the same amount of time.
The whole thing costs almost nothing beyond the plaster and a jar of AK Concrete. The plaster sheet goes a long way — one decent pour will base a full squad with material left over. And every base ends up different, because cracking plaster doesn’t repeat itself.